 Tweet
Tweet
I would like to share with you my experience in rebuilding a Probe rear caliper.
I know that buying a re-manufactured caliper on Rockauto is maybe a simple option, rebuilding a caliper is often cheaper but more time consuming.
Plus it offers the ability to be painted in a professional way in any color of your choice.
The problem I encountered with my rear calipers is the famous sticky handbrake plus a strange brake fluid leak.
The tools you will need:
First you have to have to remove the whole assembly from the car.
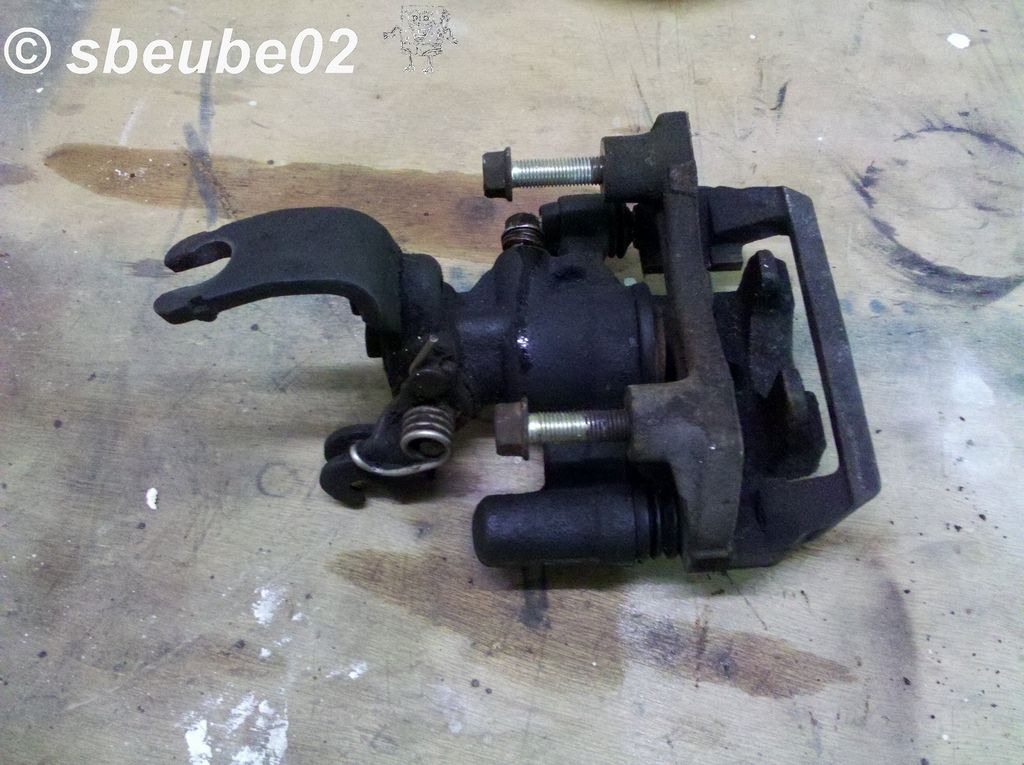
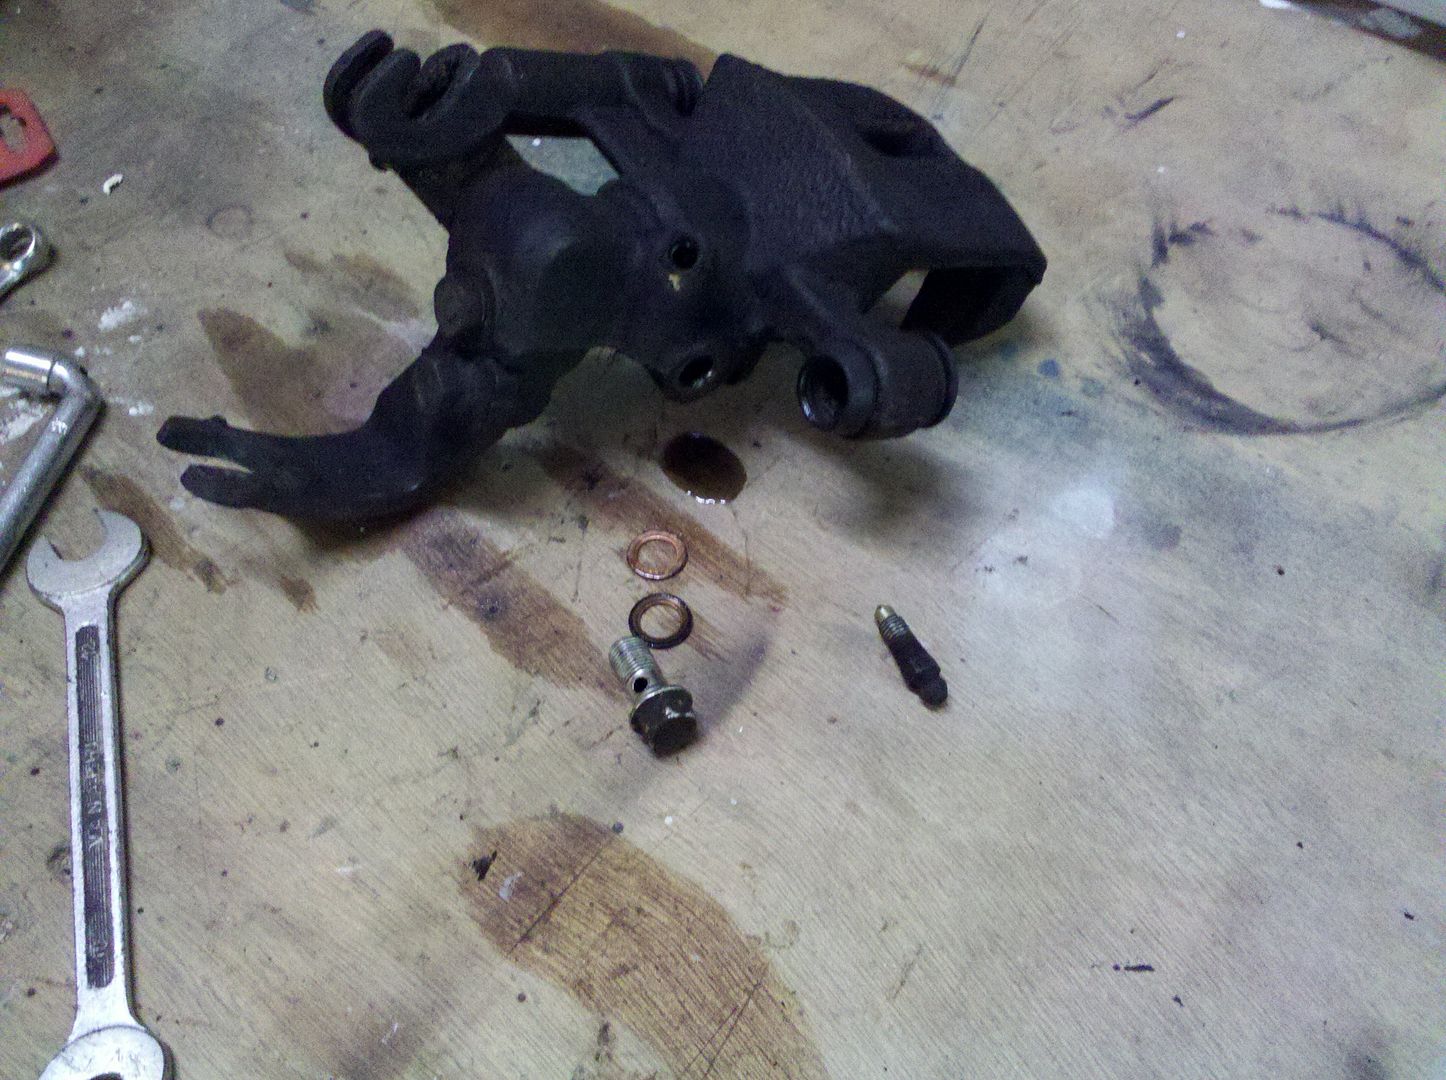
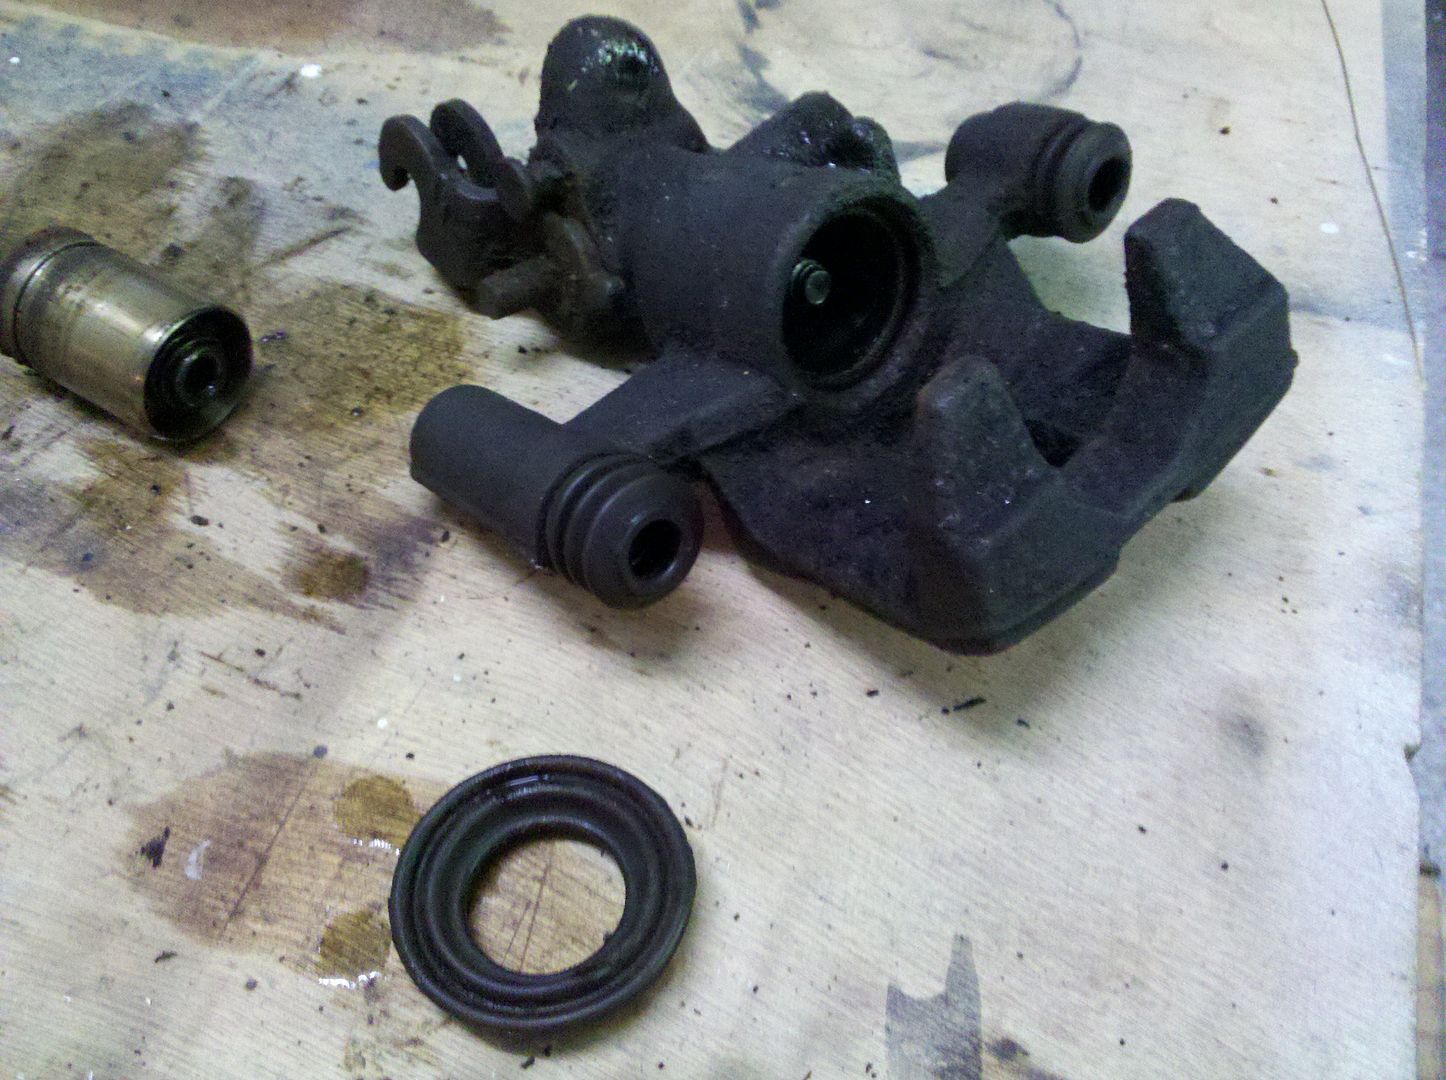
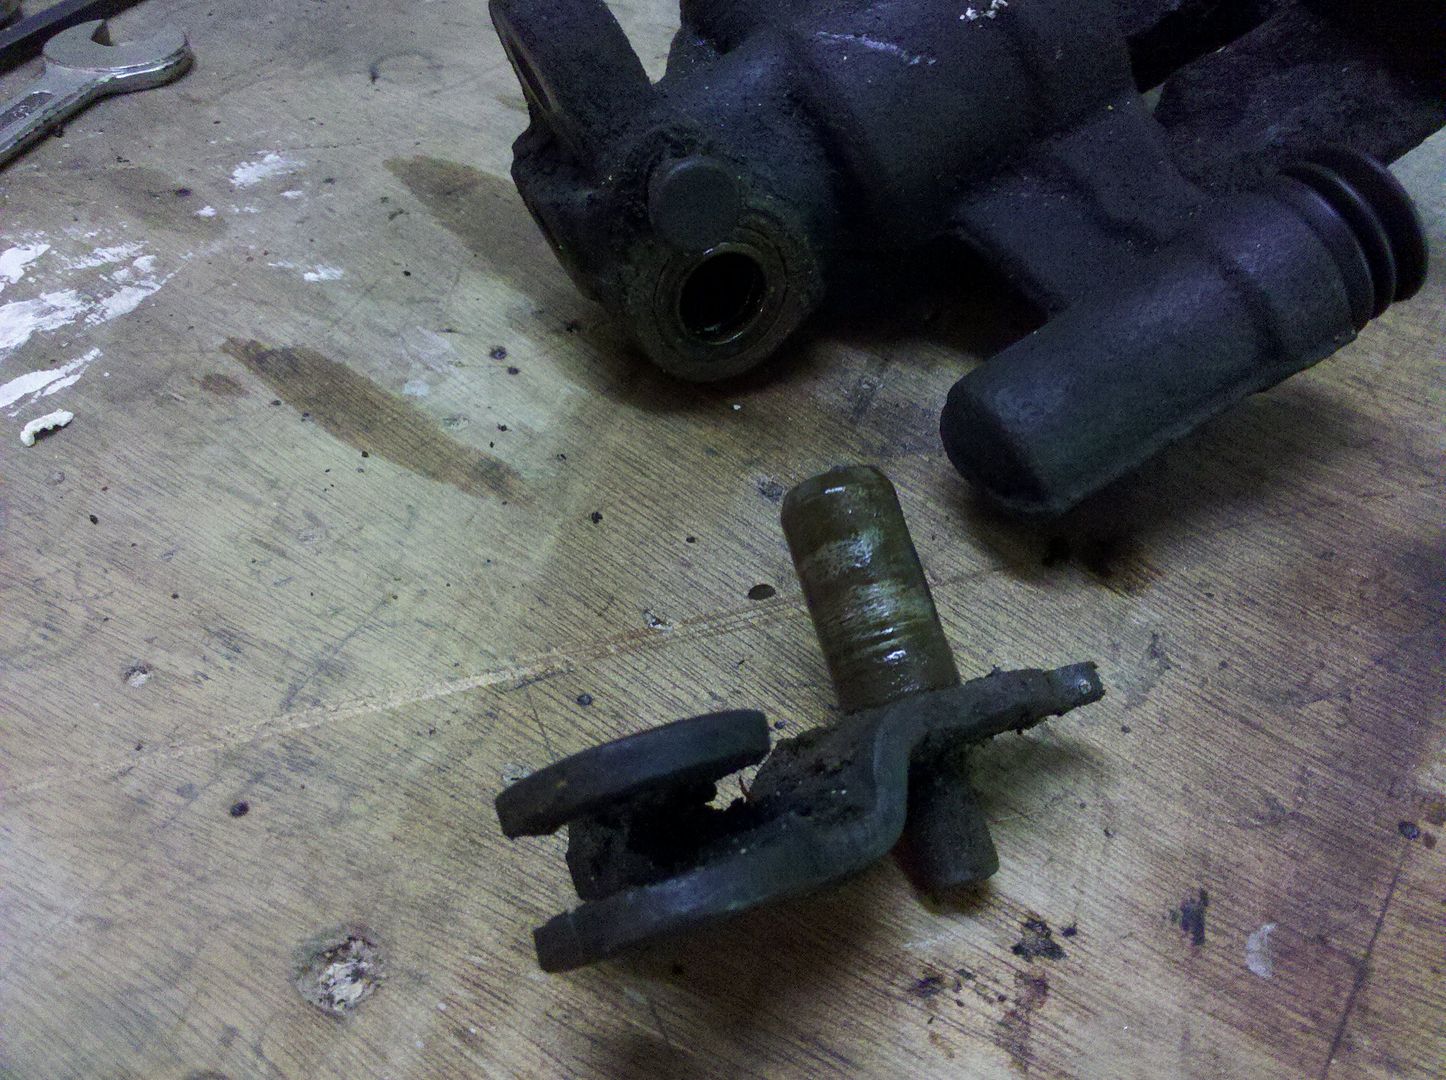
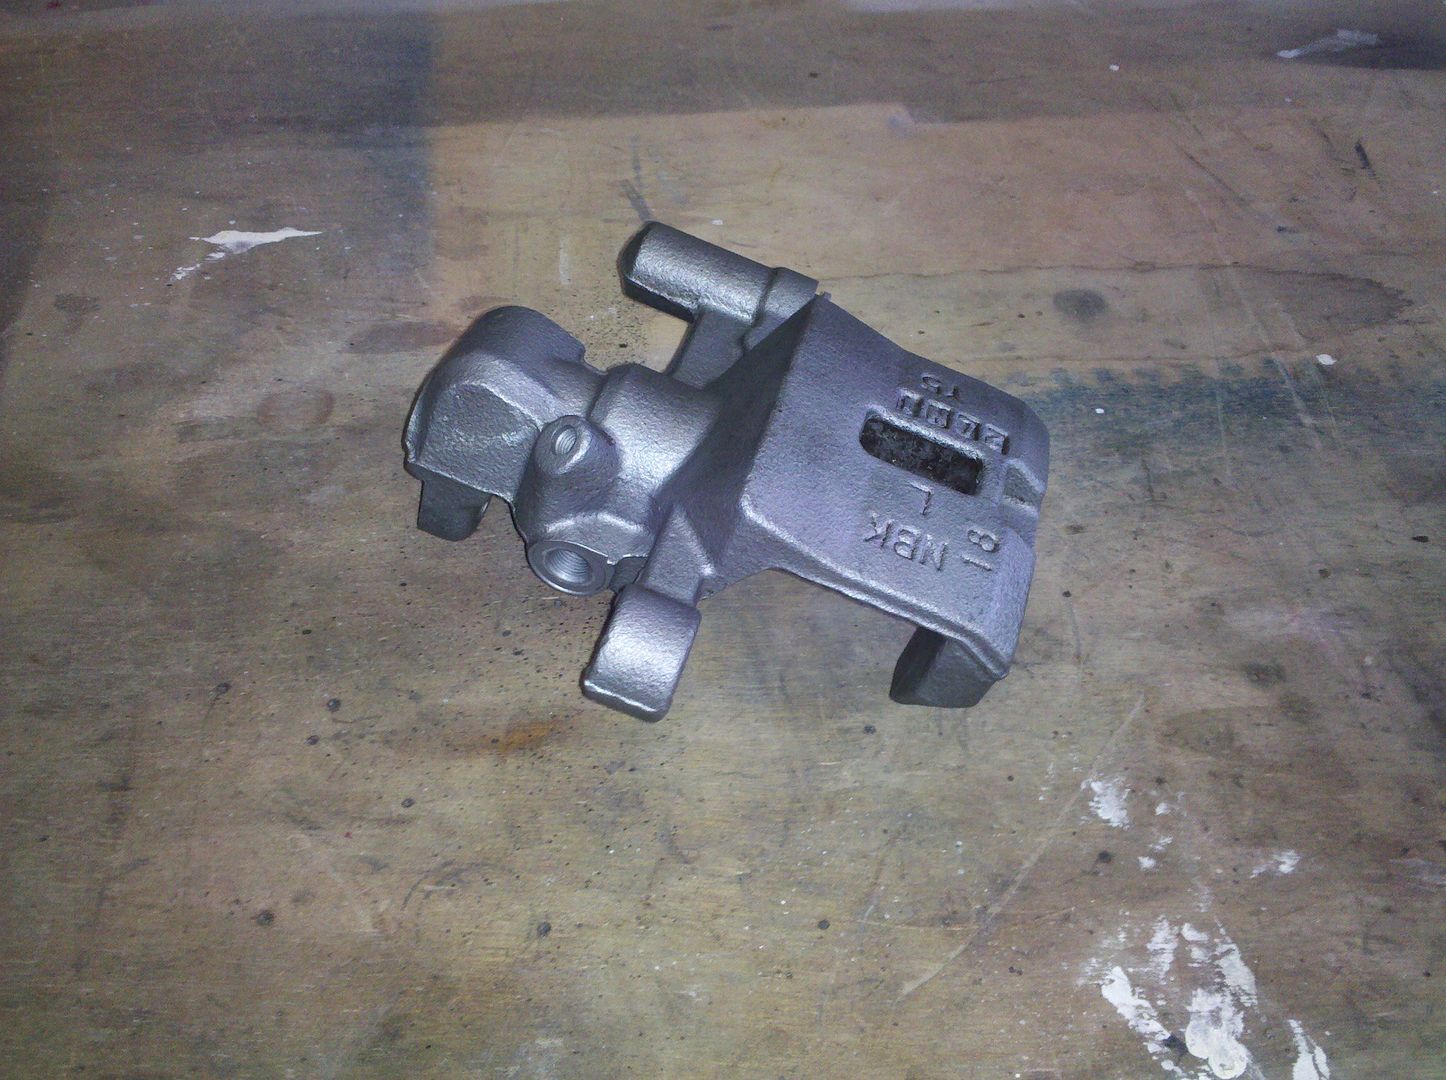
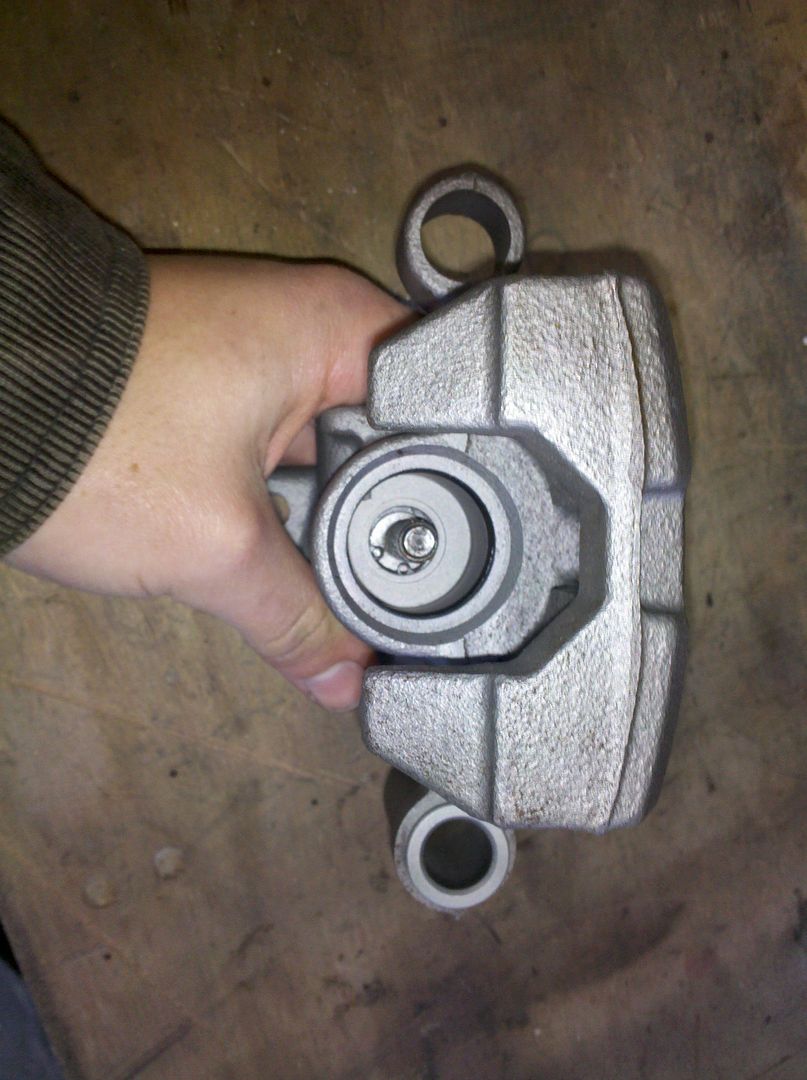
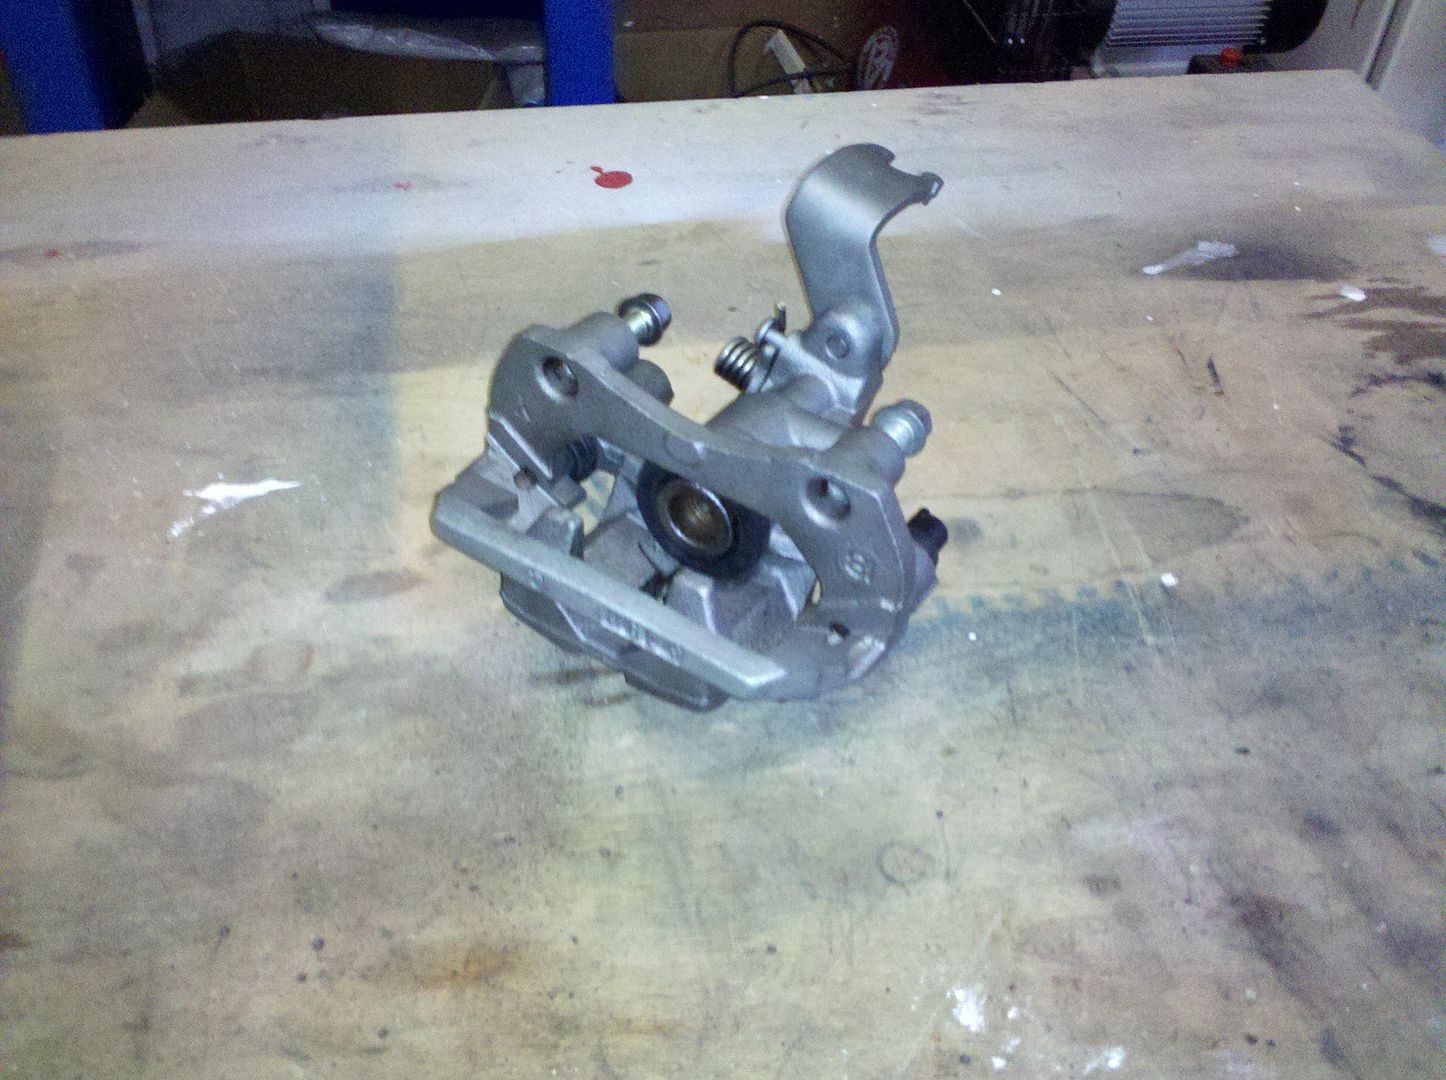
Here is the rusty/dirty/leaky caliper:
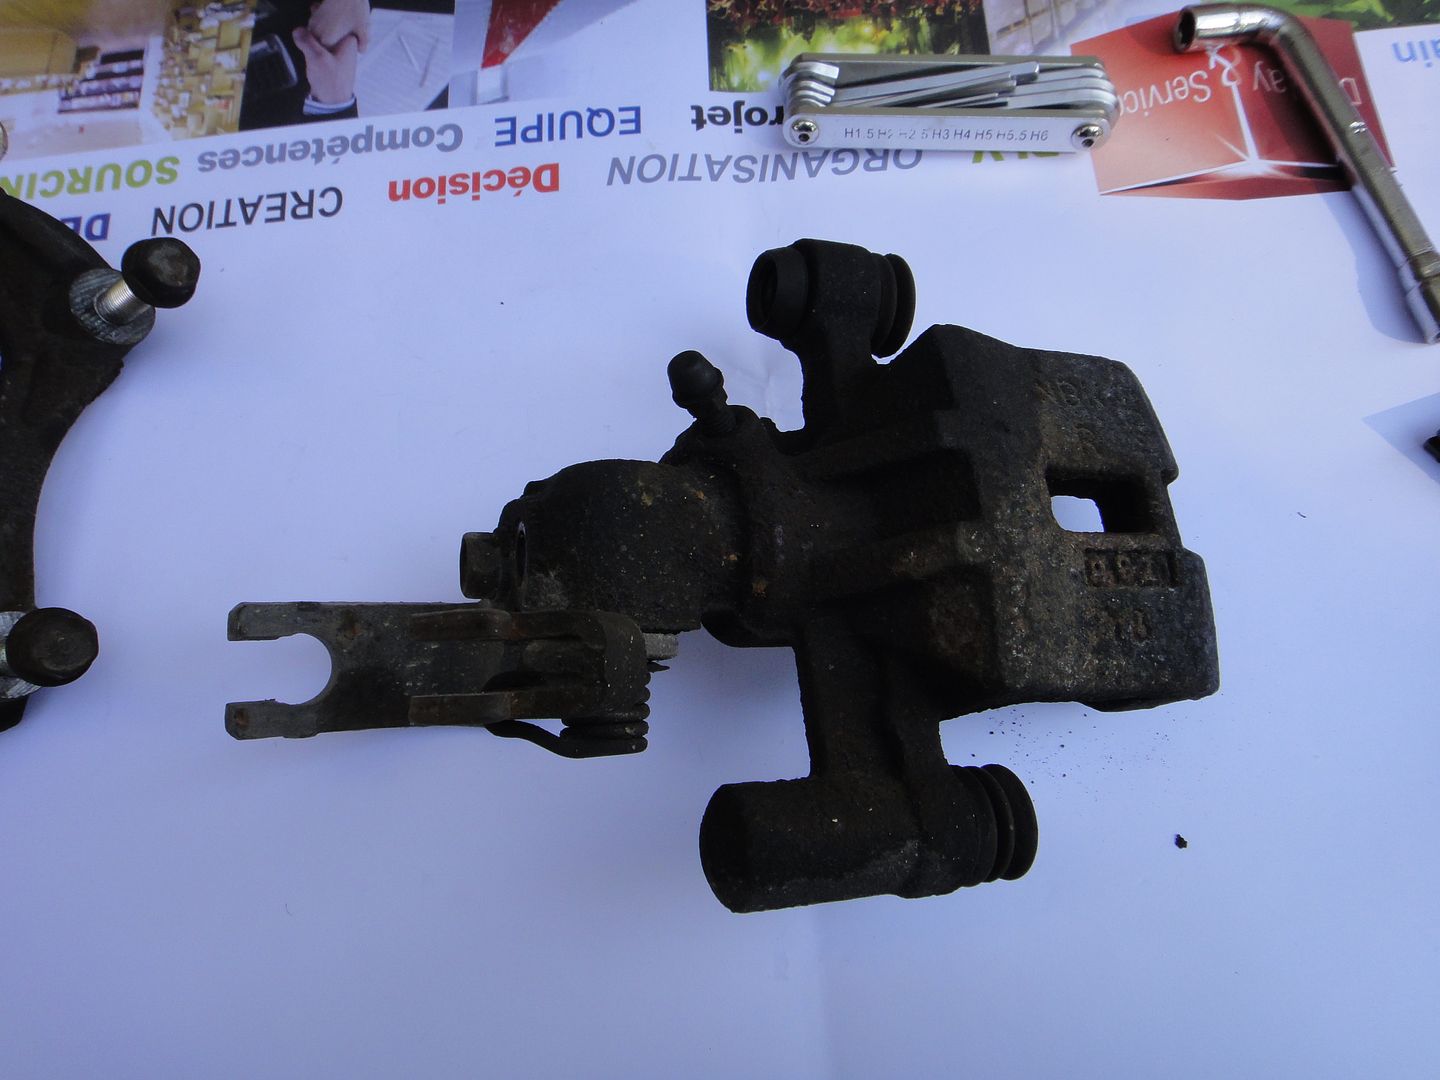
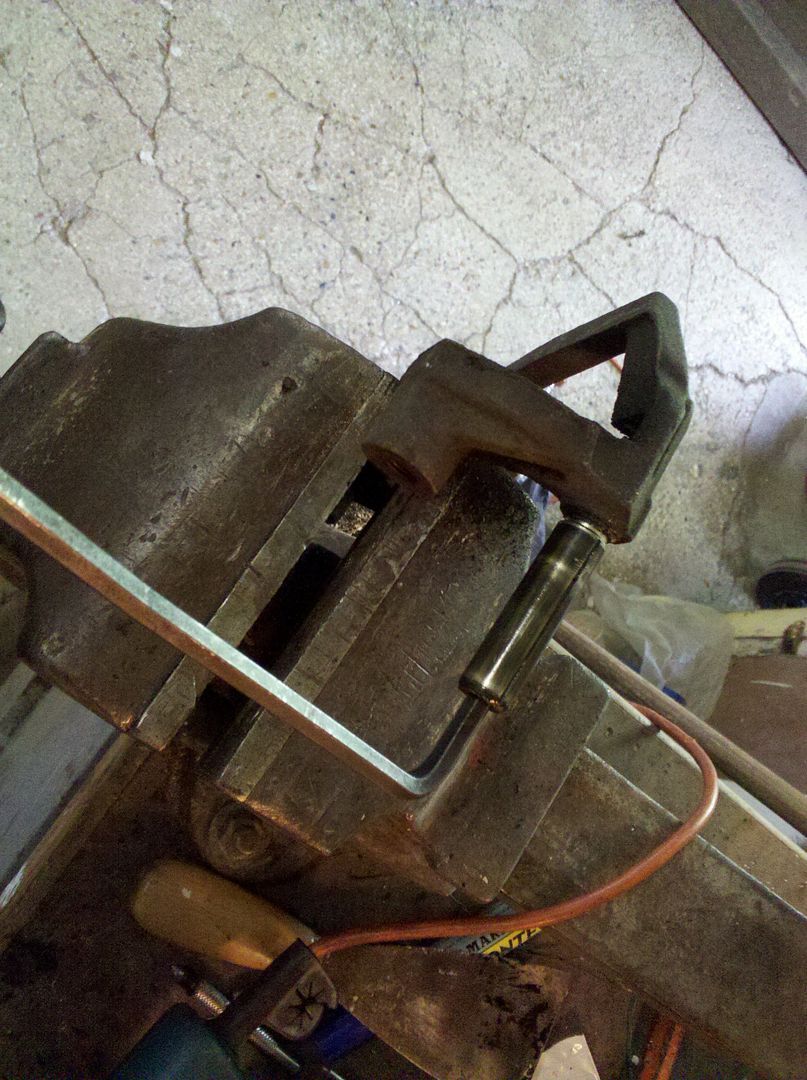
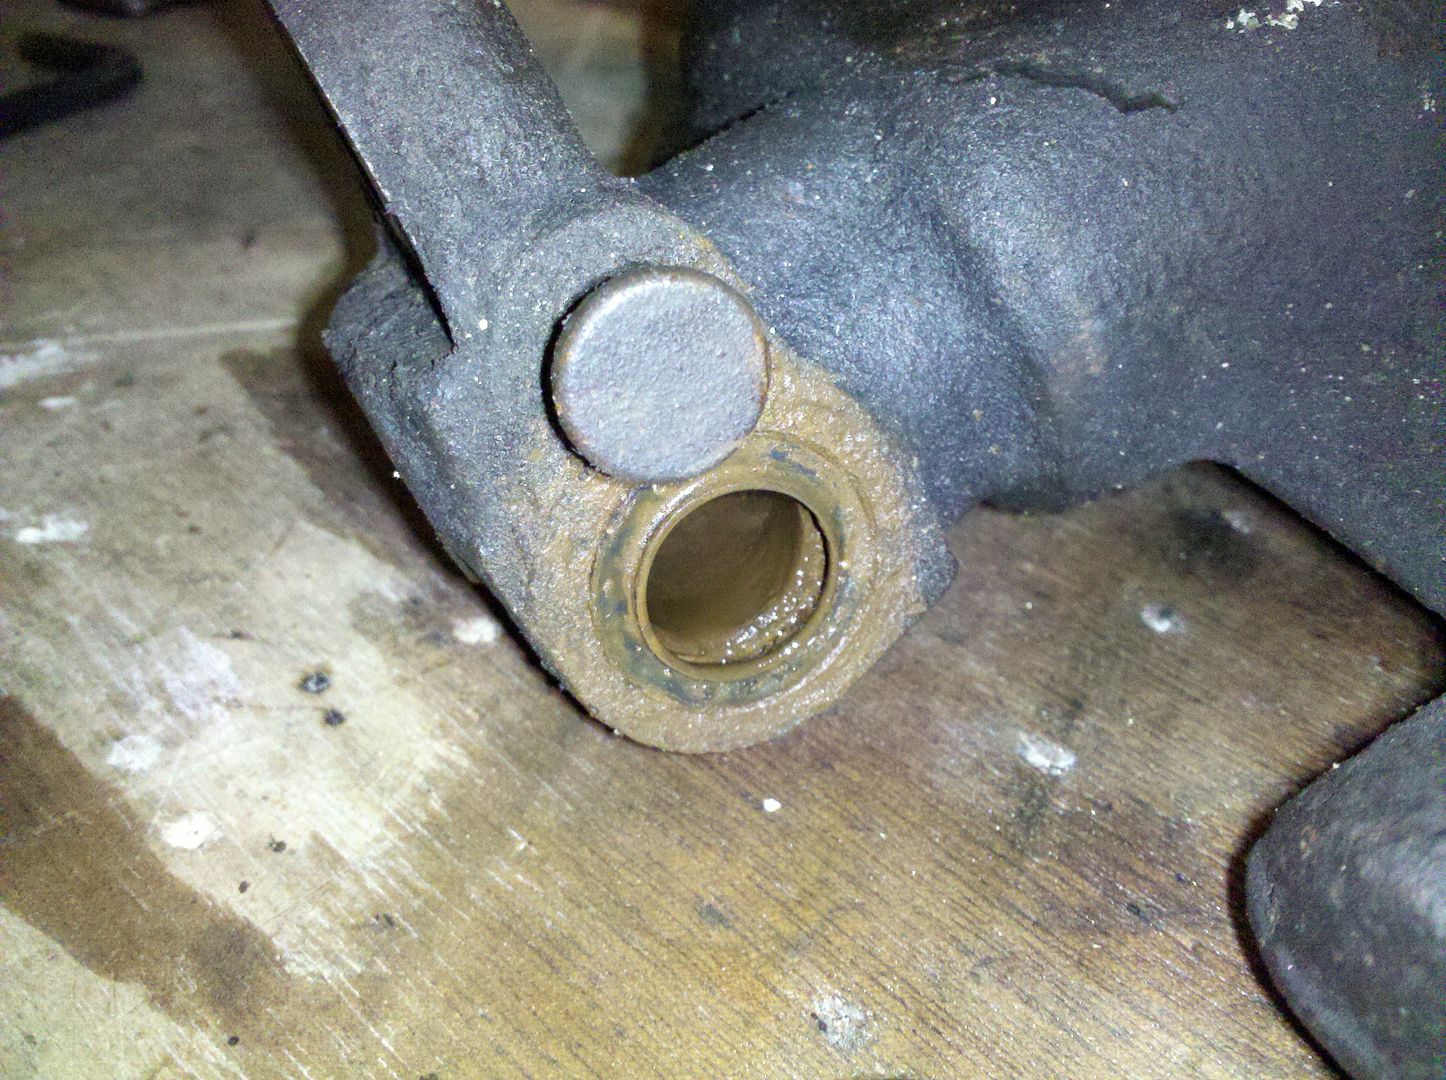
Remove the first slider pin with a 10 mm spanner:
Rotate the bracket and slide from the second slider pin:
Next you have to heat a lot the bracket to get the second slider pin off. It is glued with some red Loctite:

When the glue is softened, use the 6 mm Allen wrench to remove the slider pin:
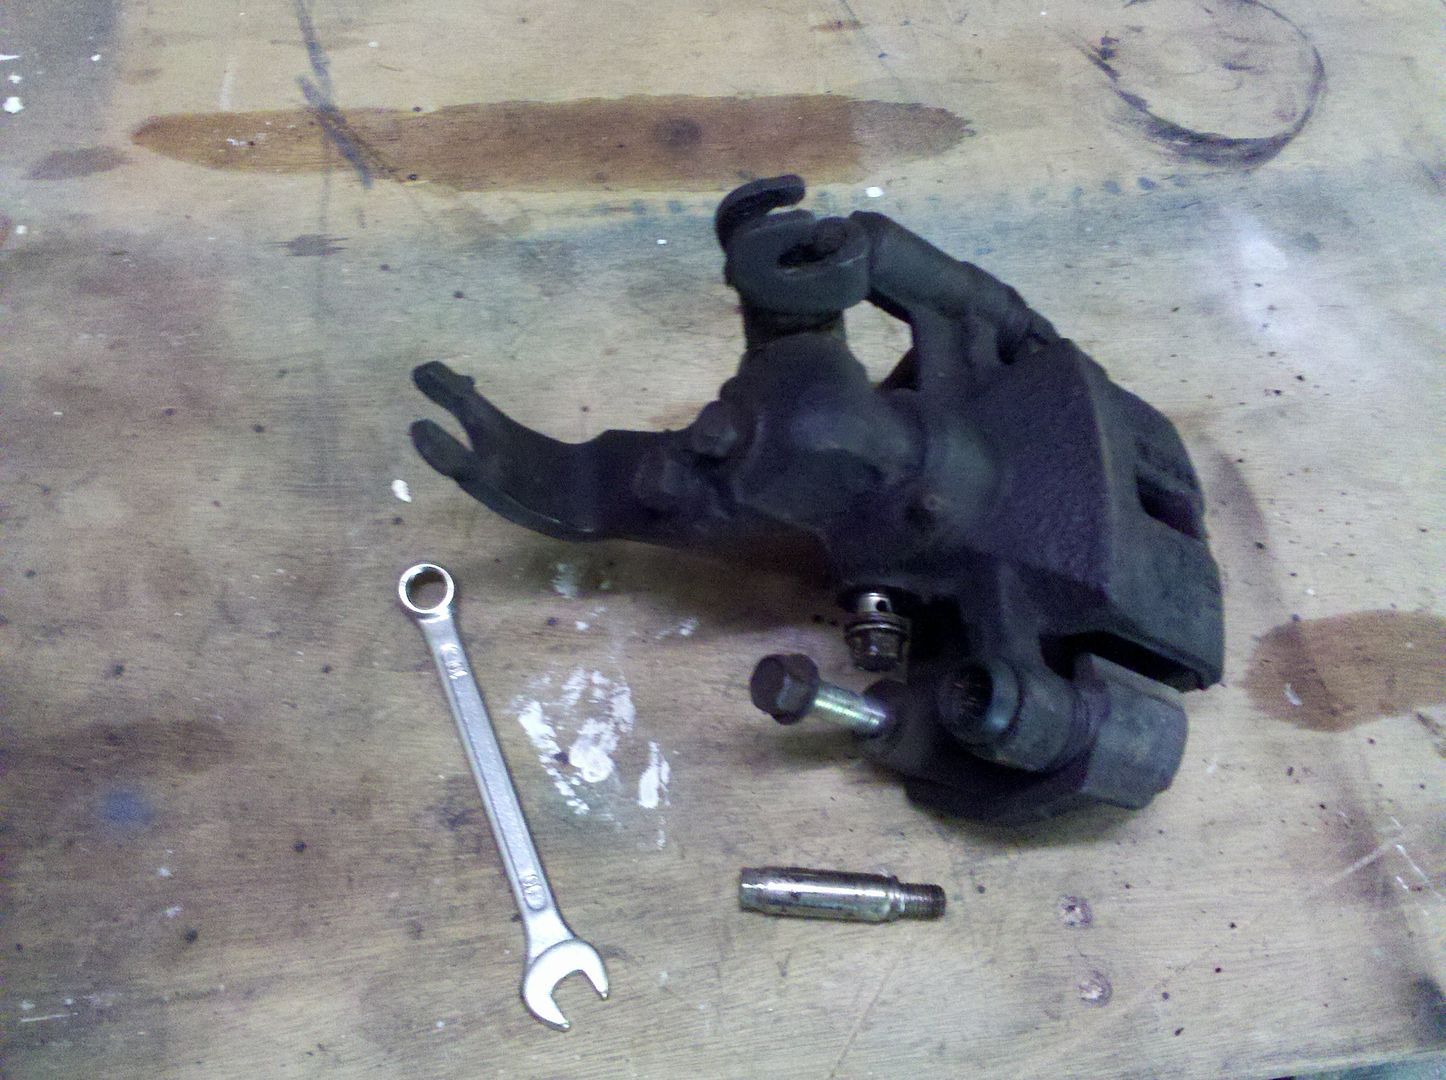
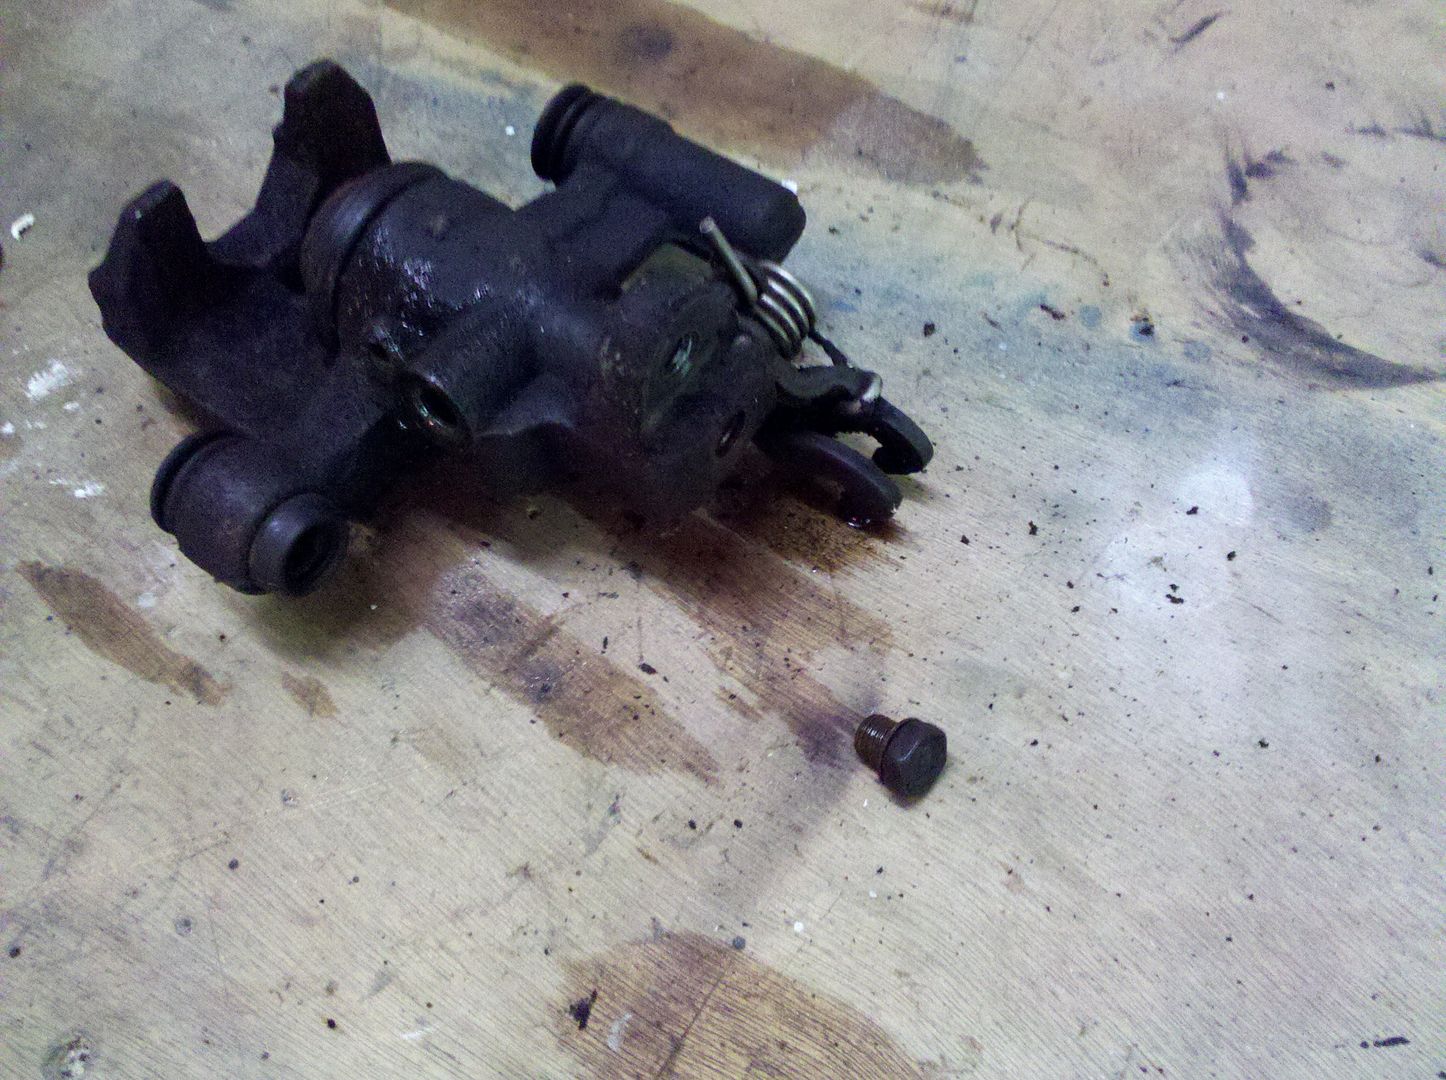
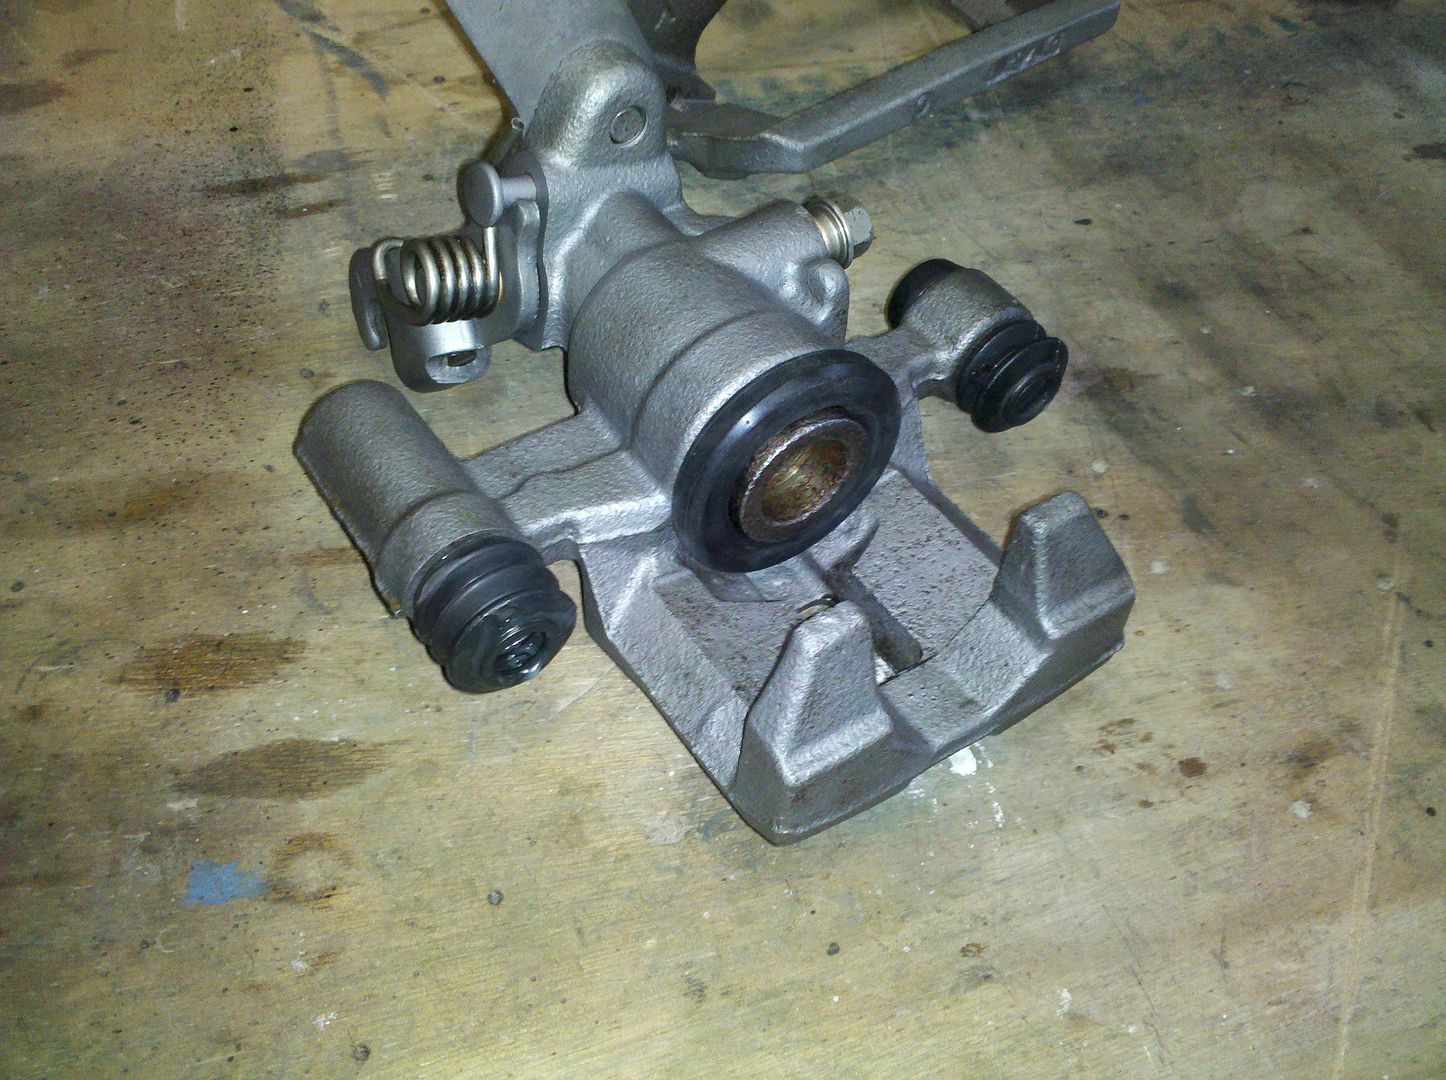
Remove now the various bolt and handbrake cable support:
Turn several turns the gear to extract the most you can the piston.
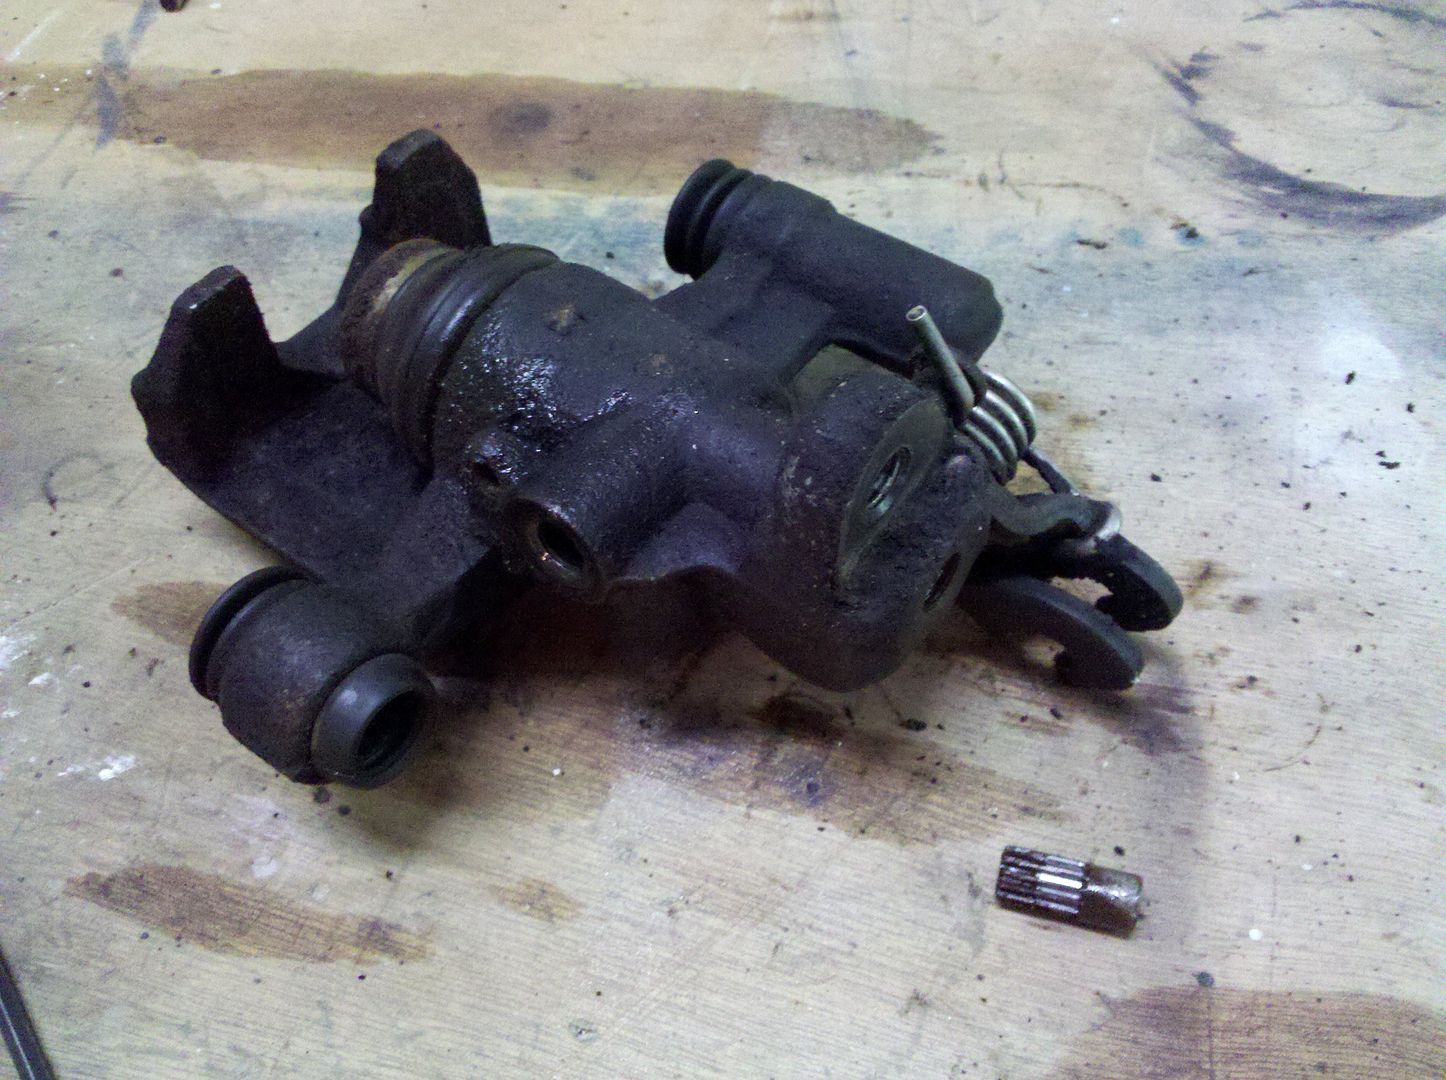
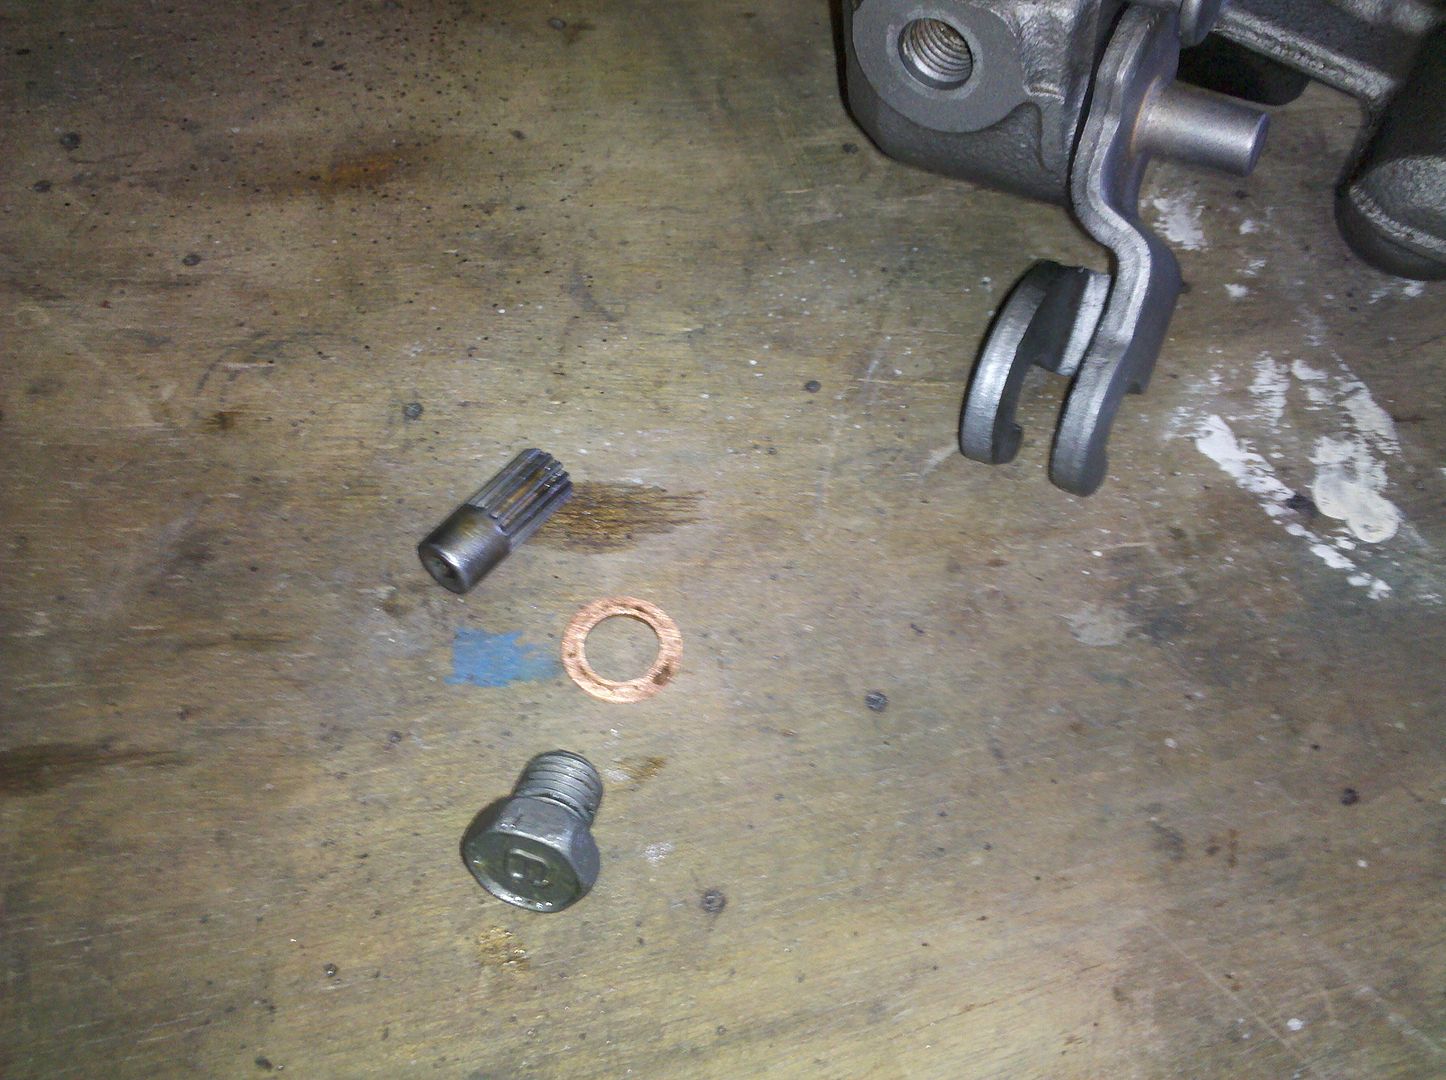
Then remove the handbrake adjust gear with a 4 mm Allen wrench:
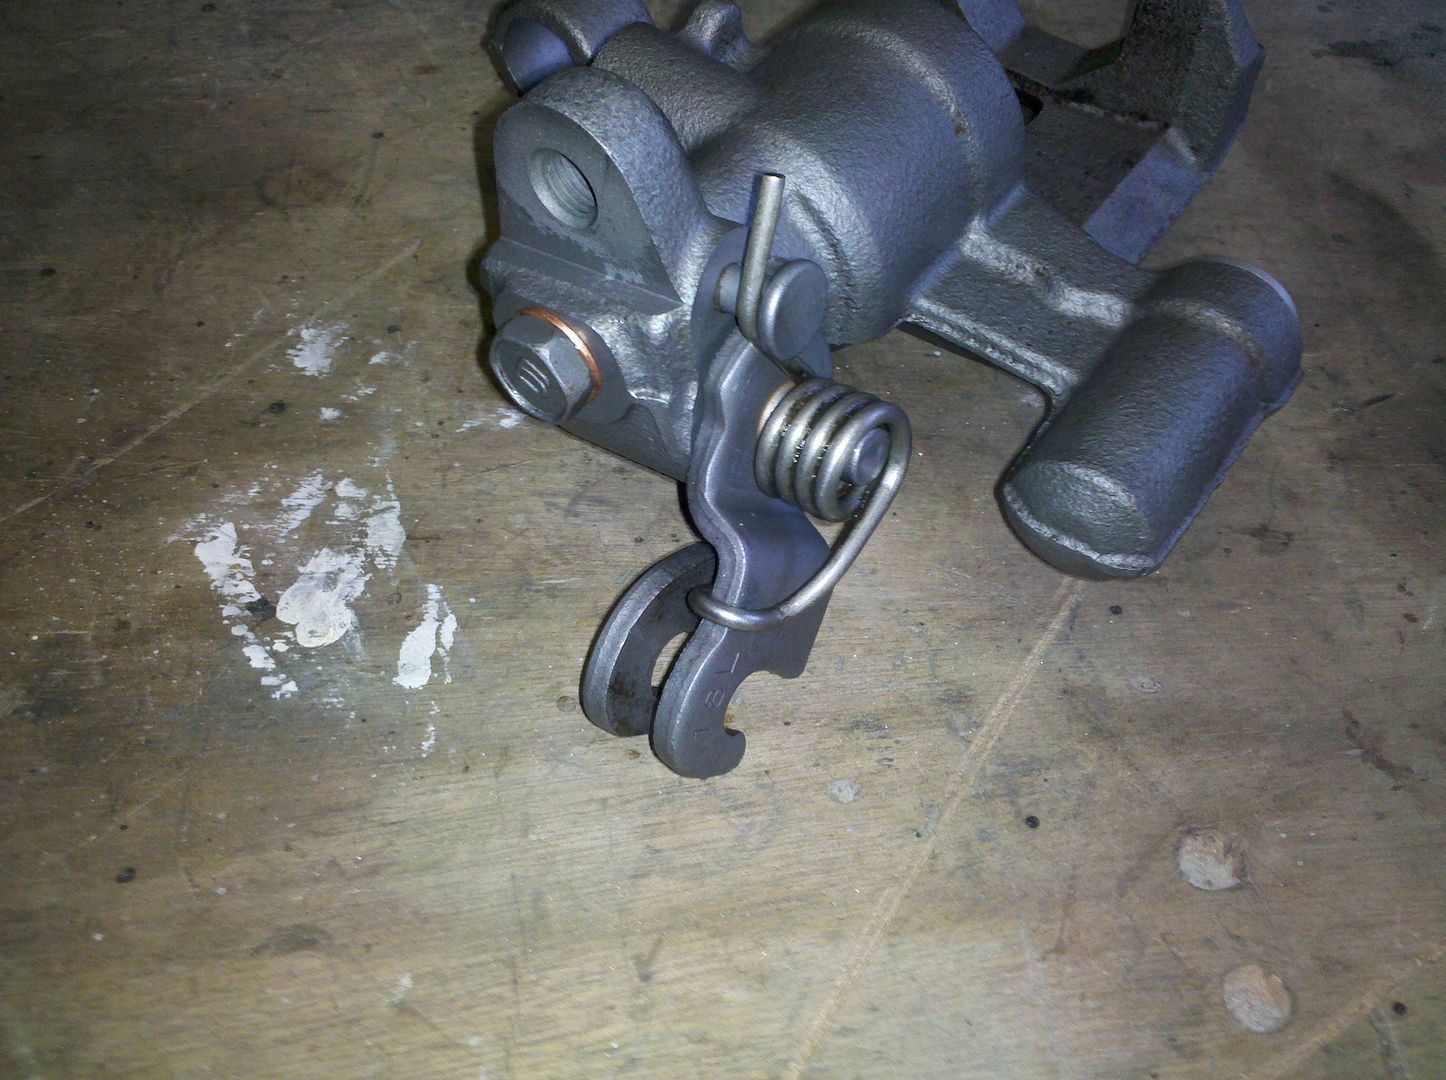
Carefully remove the handbrake lever spring:

Slide off the piston:

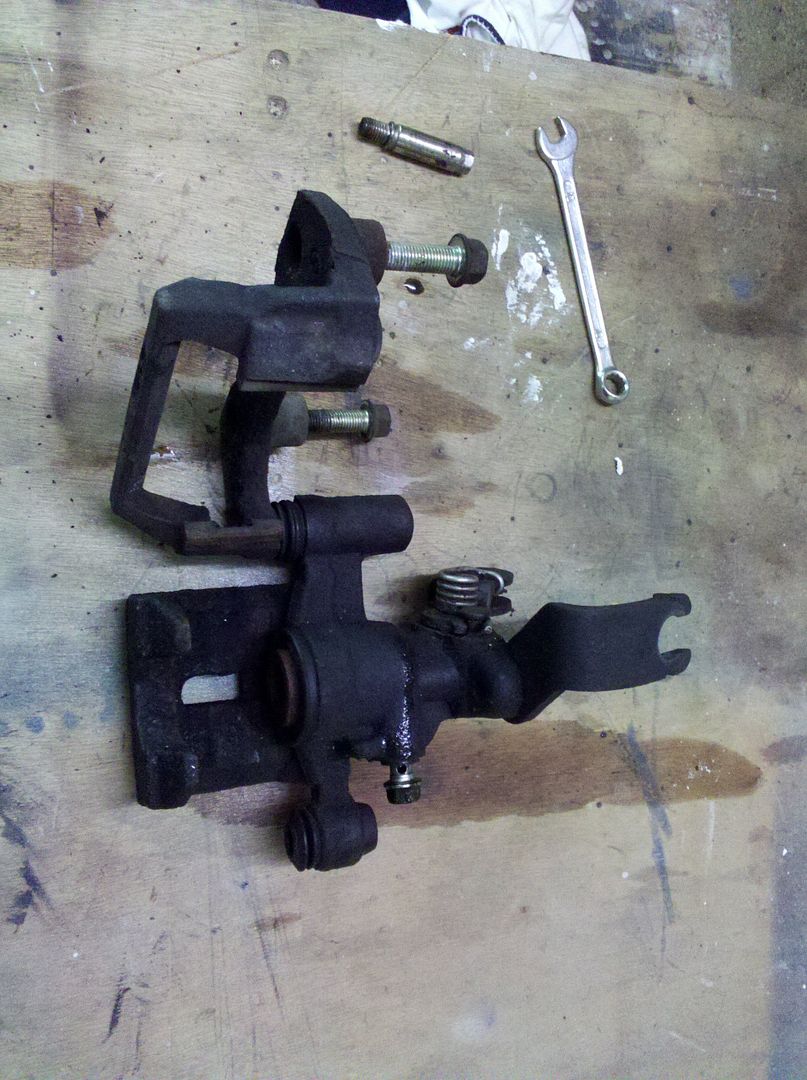
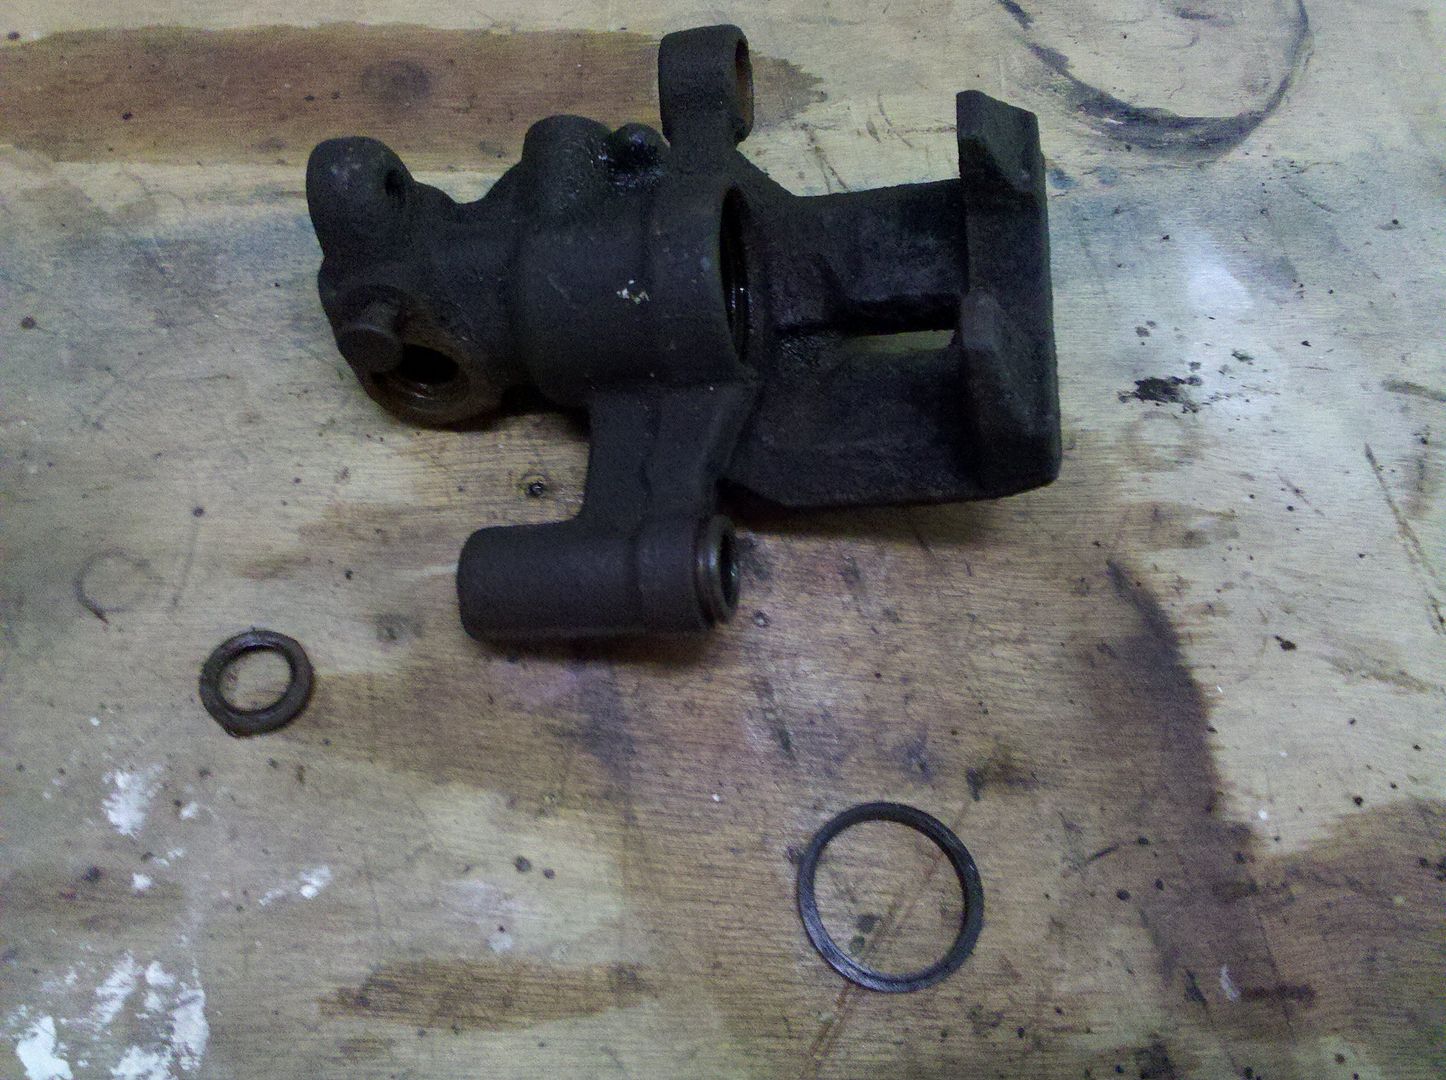
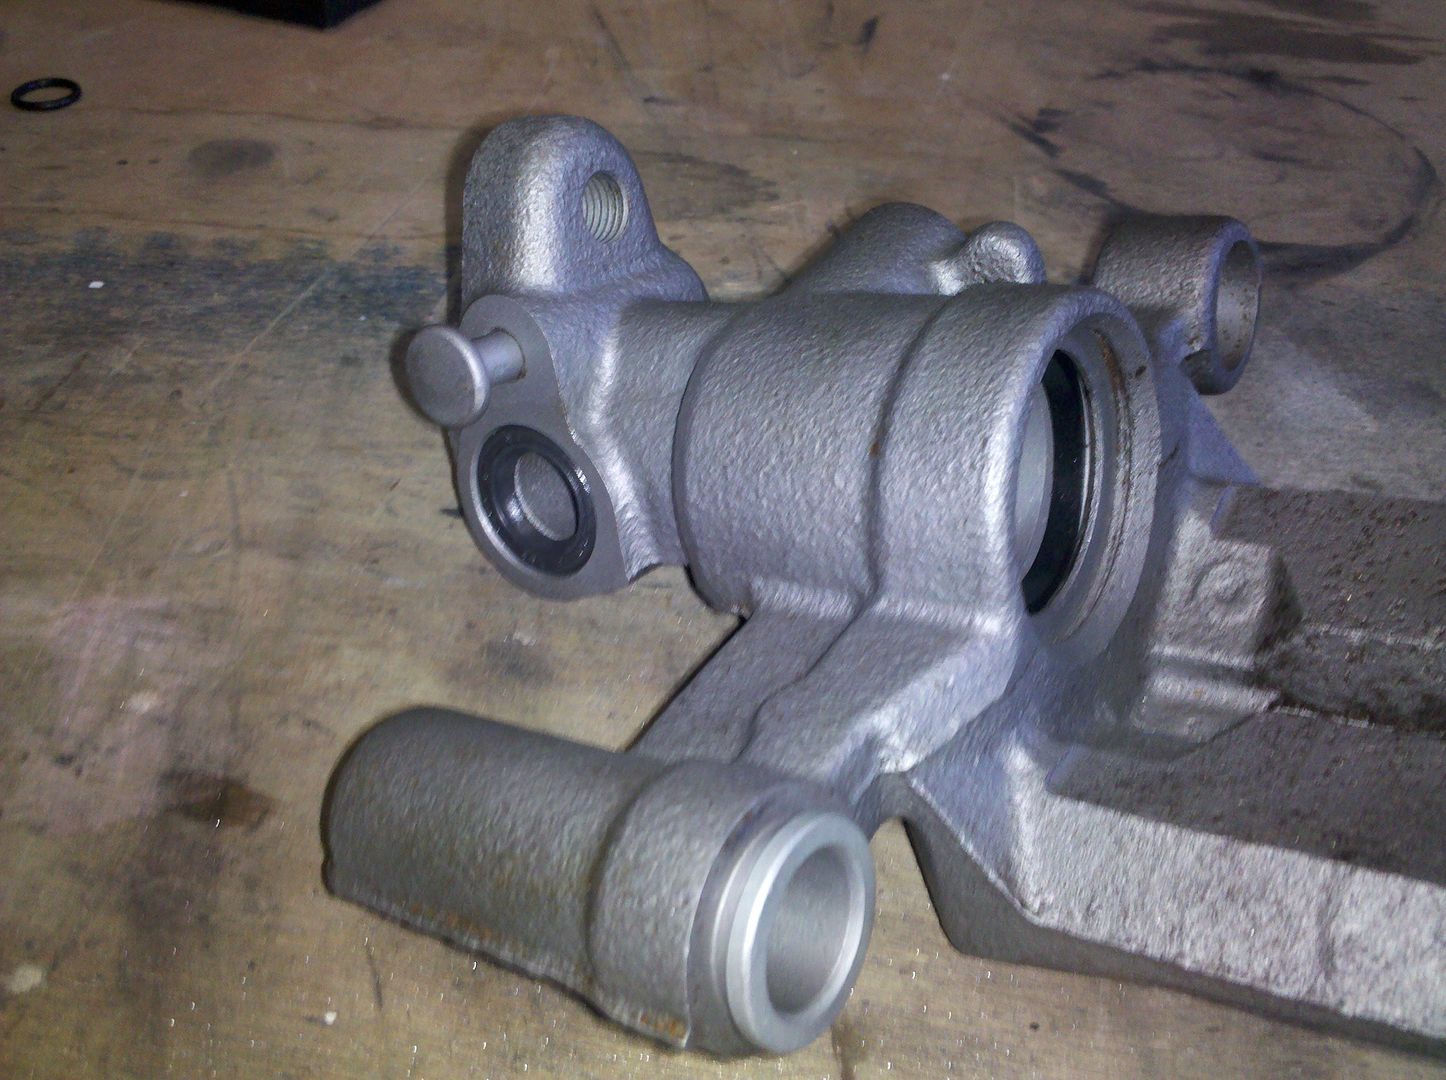
Remove the dust seals and rubber guides:
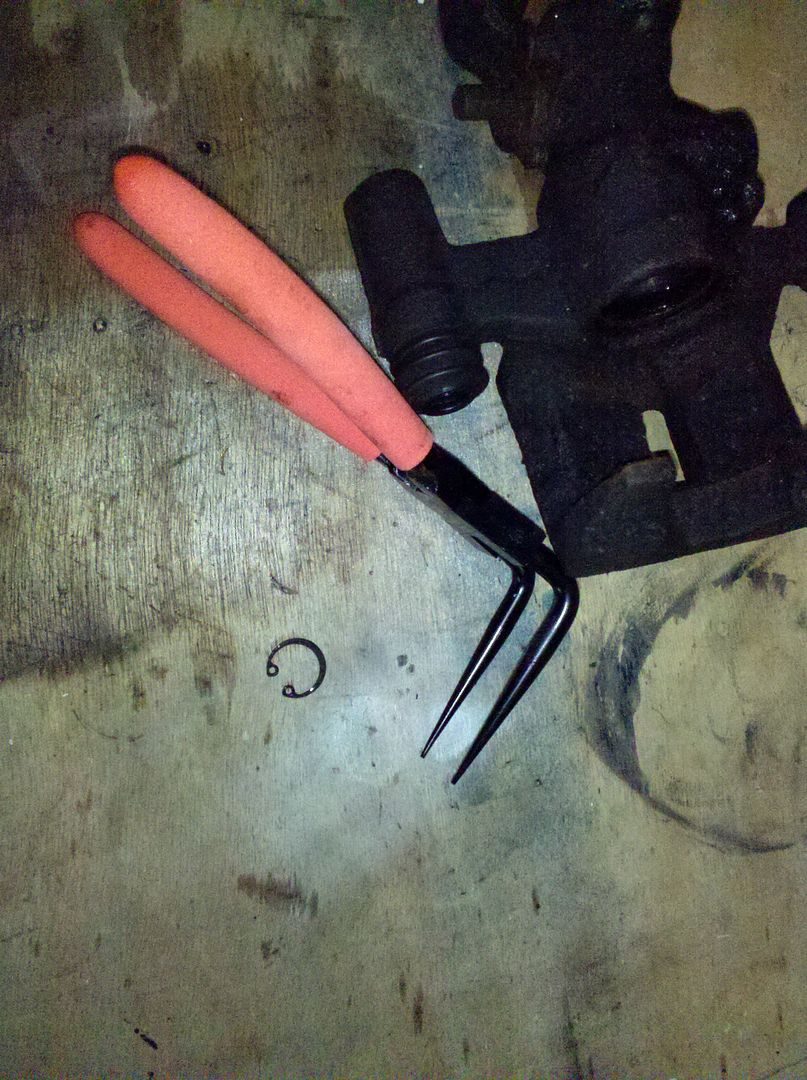
Now here is the tricky part. You have to remove the small clip inside the cylinder bore:
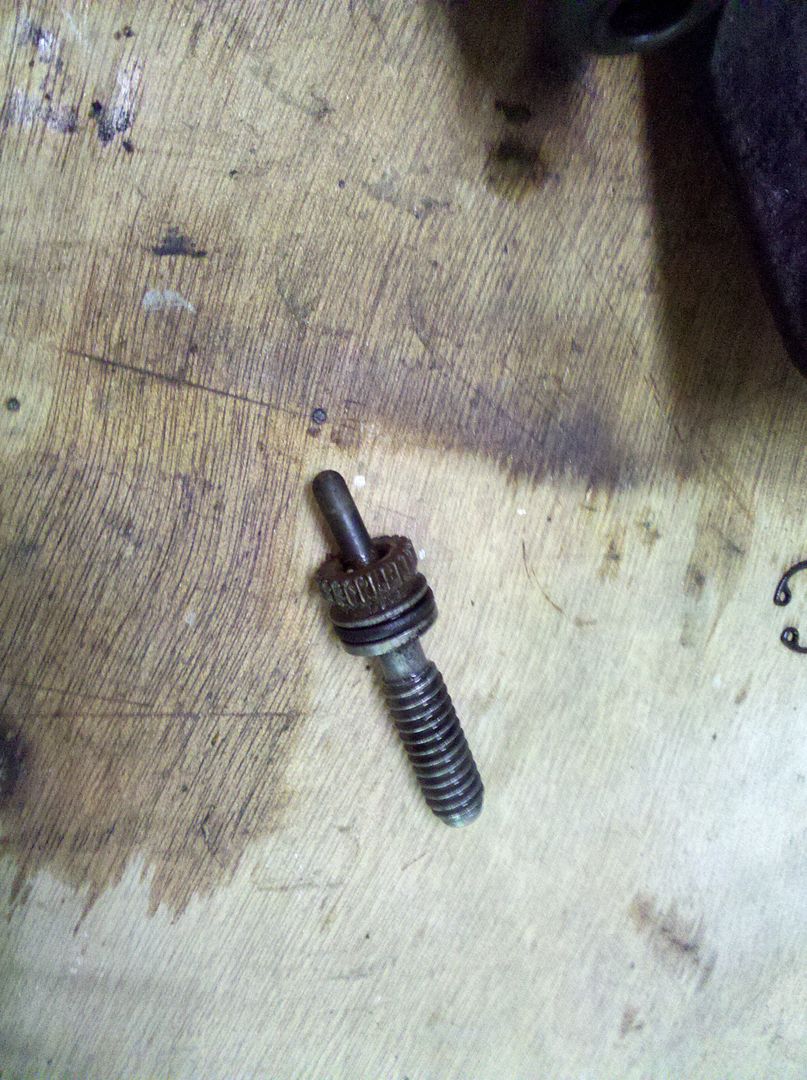
You can now extract the handbrake adjustment mechanism:
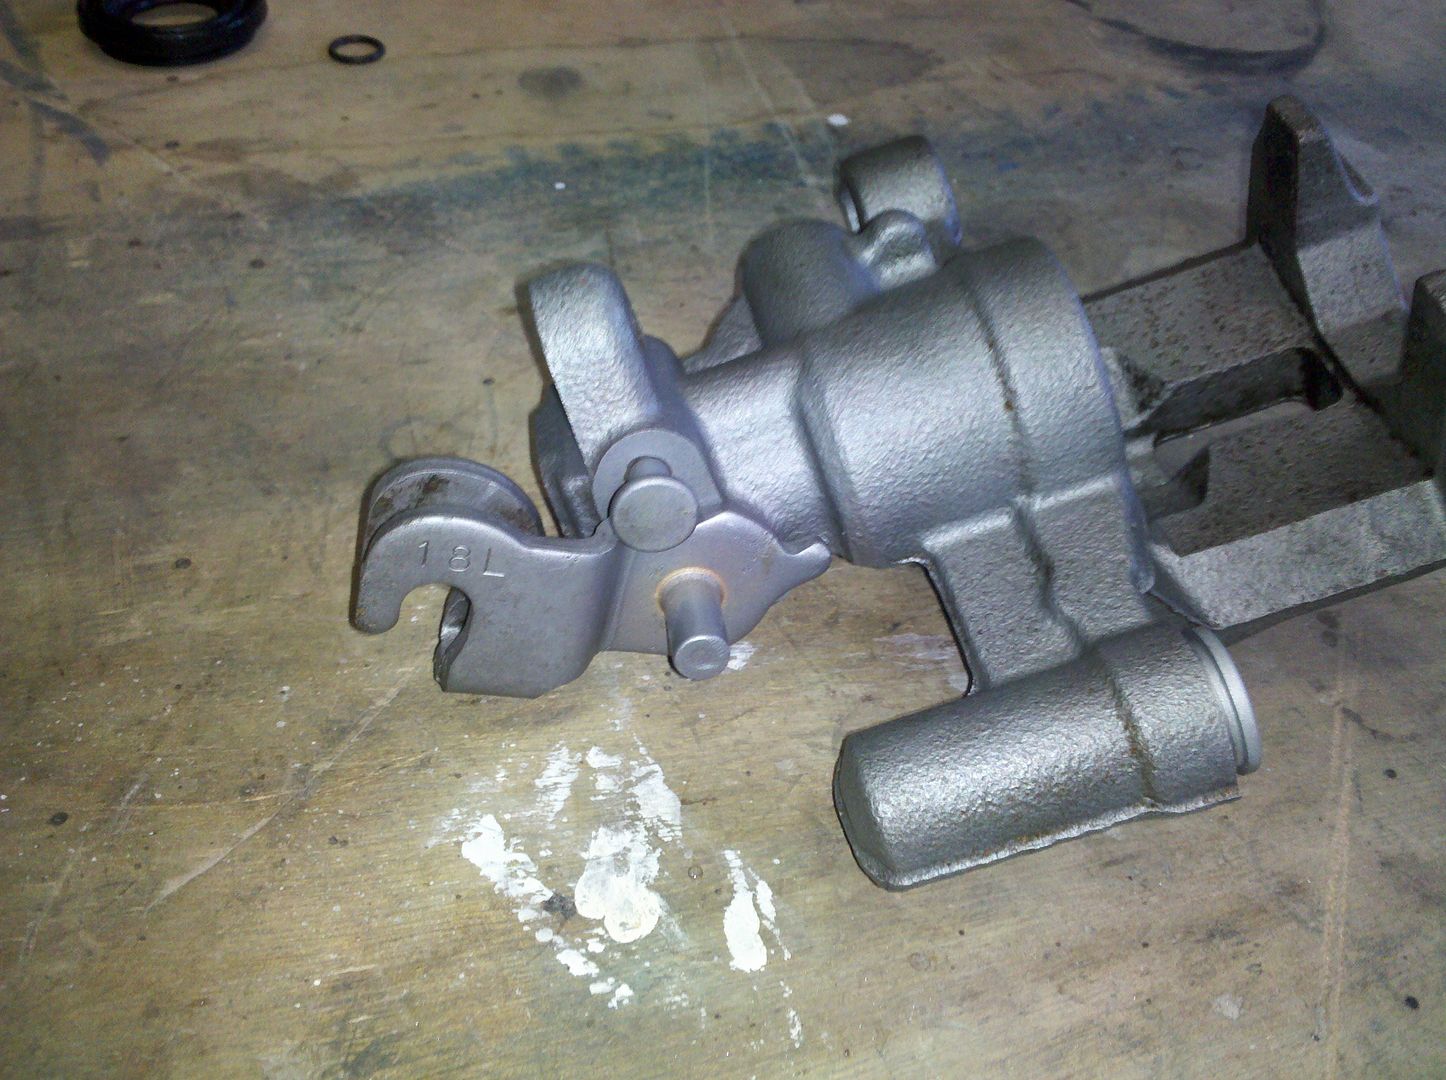
Now the hanbrake lever may be removed, just pull off:
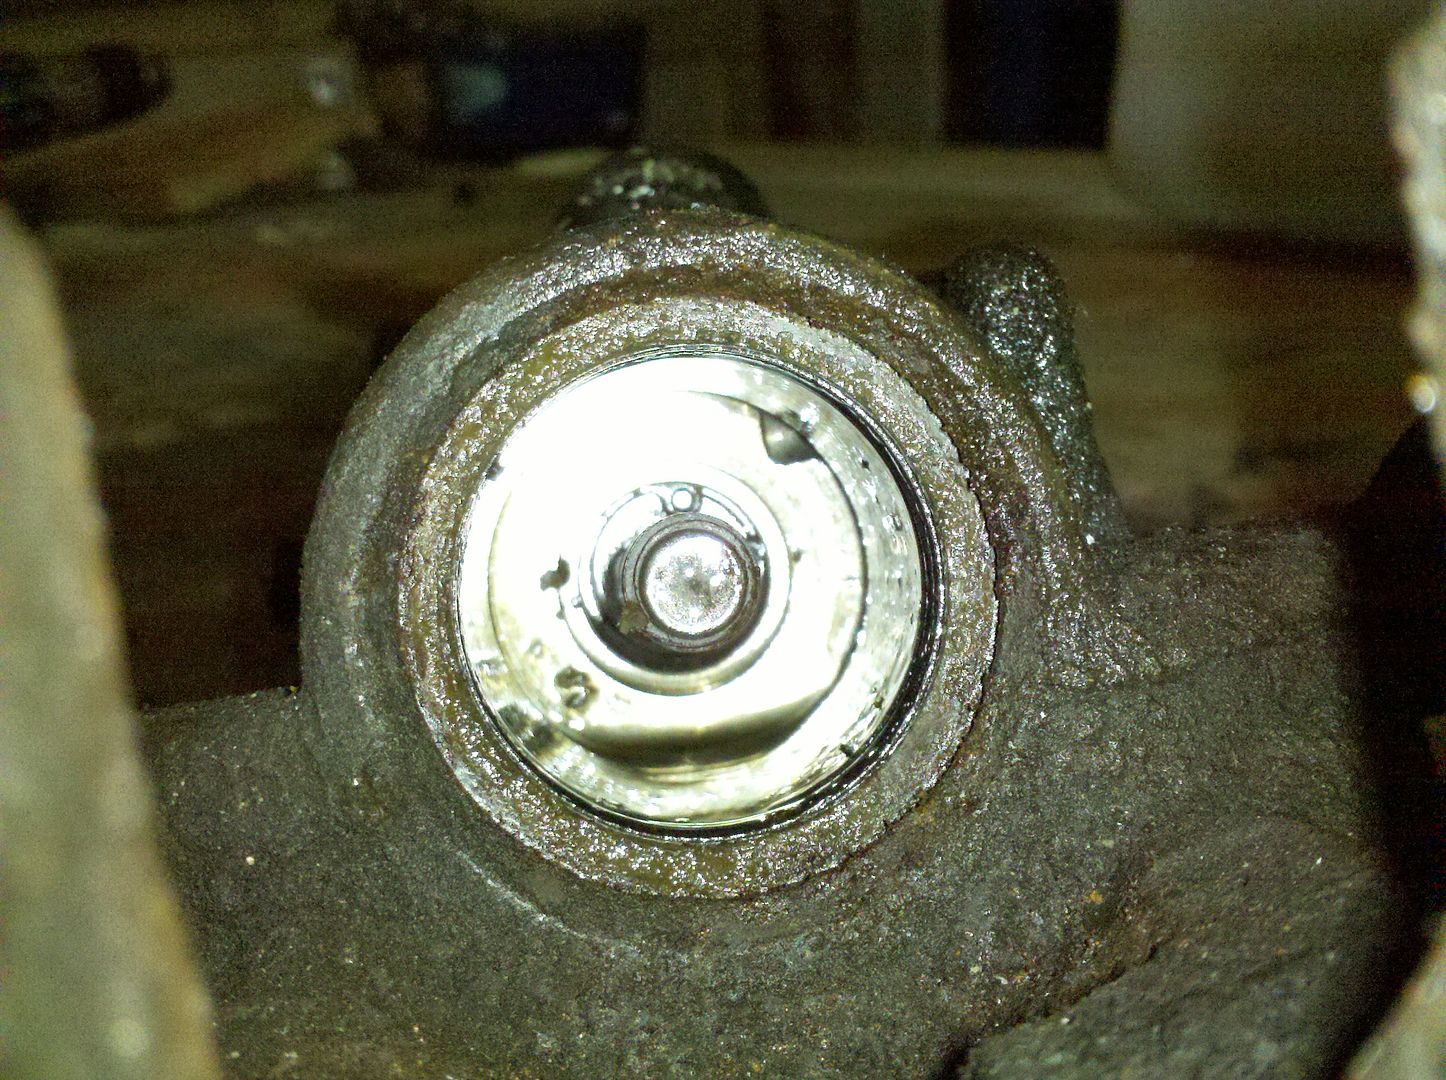
You can see the culprit. The old dust seal leave water pass inside the caliper:
Remove with a flat screwdriver the seal and the inner seal inside the piston bore:
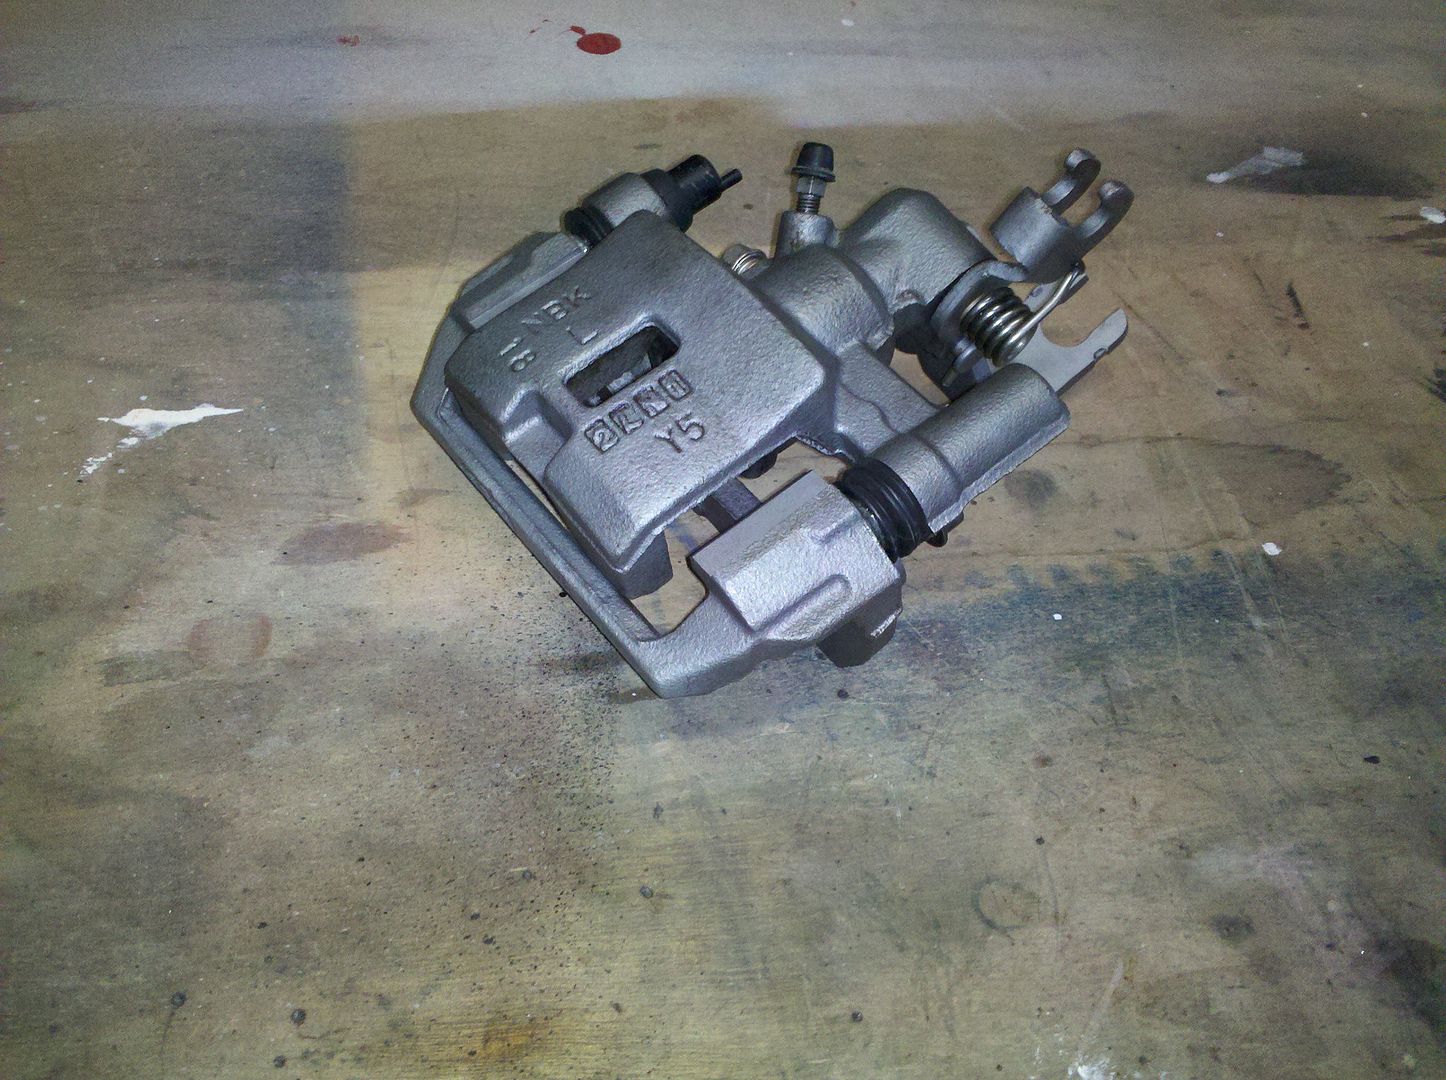
Now the magical part Use a sand blaster to remove all the rust of your calipers:
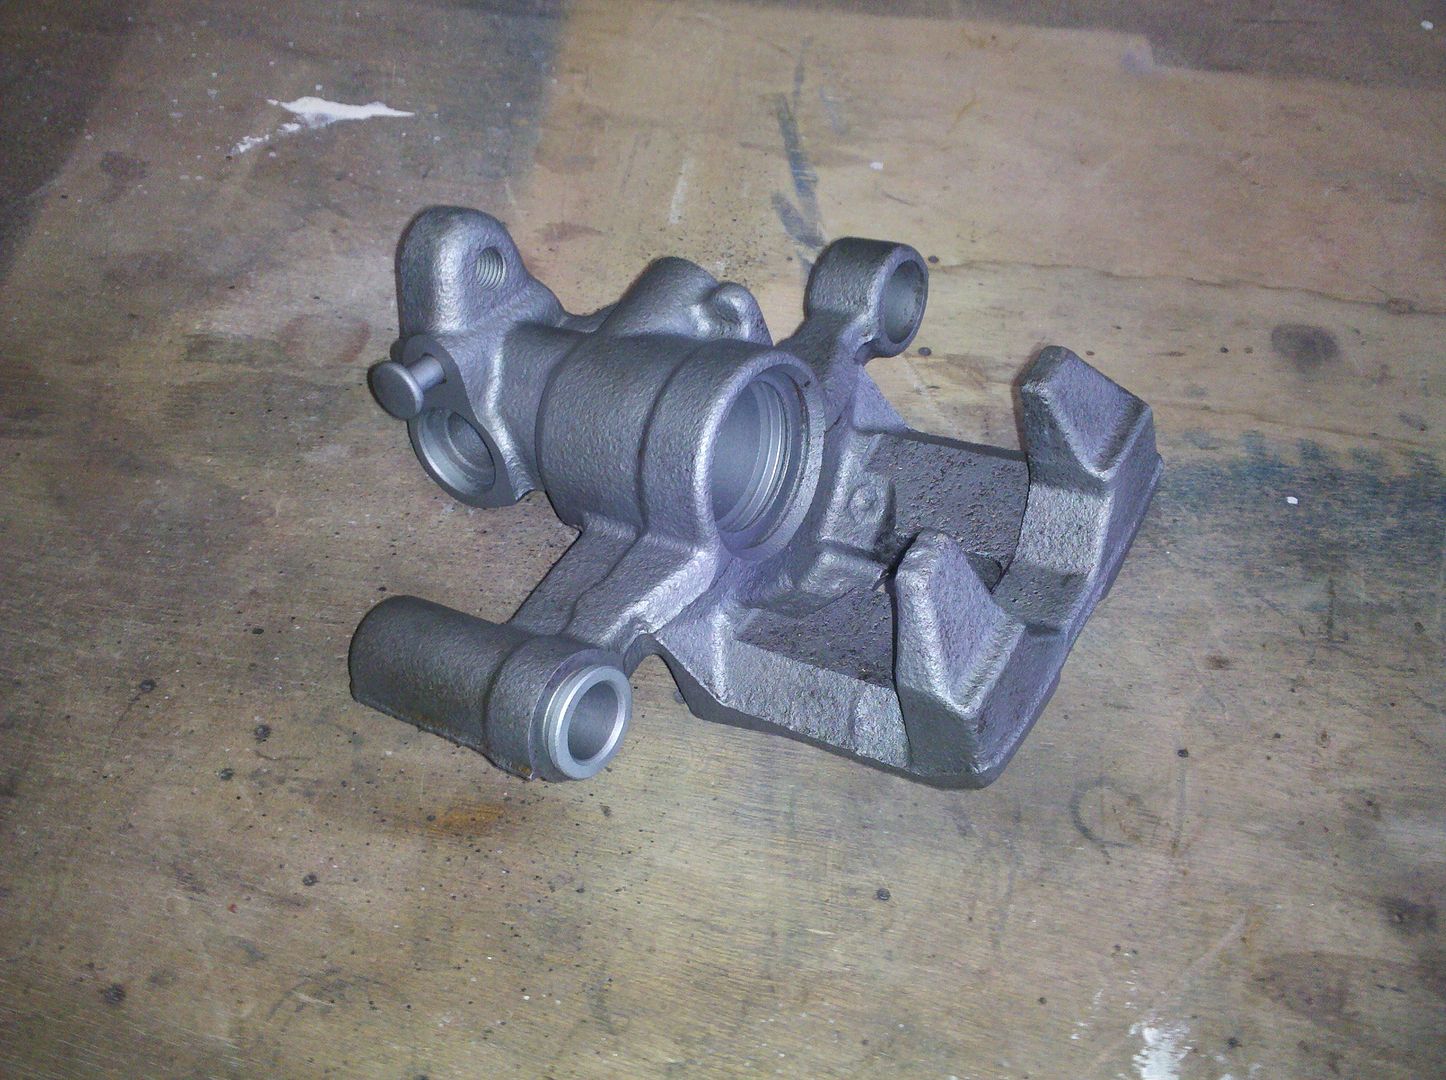
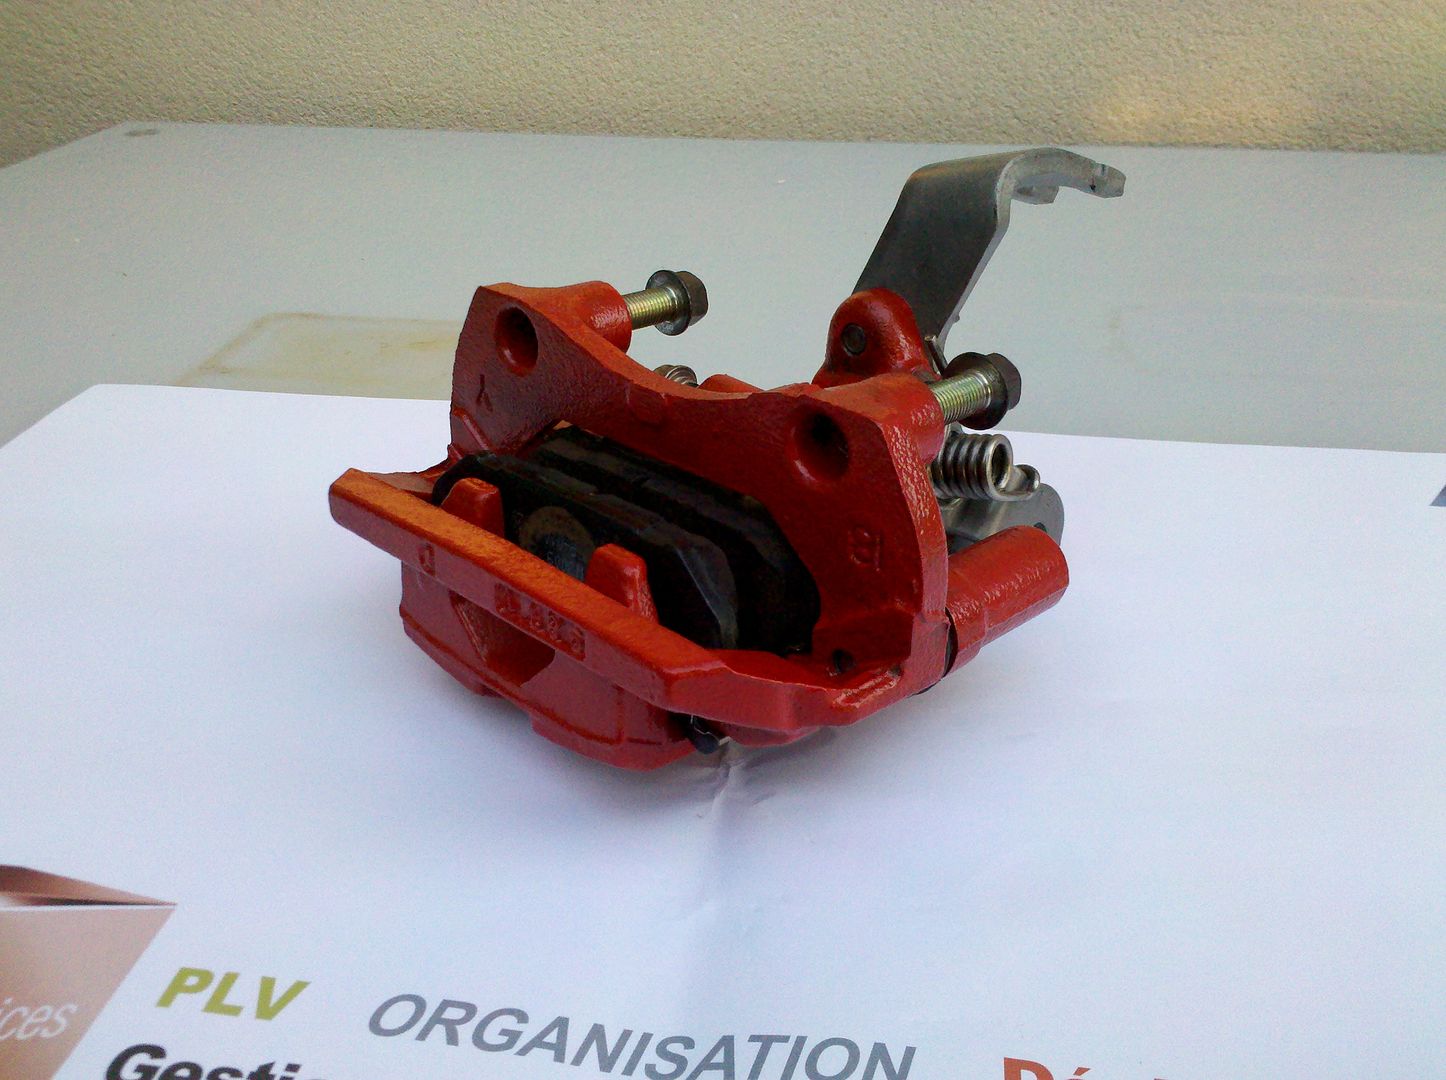
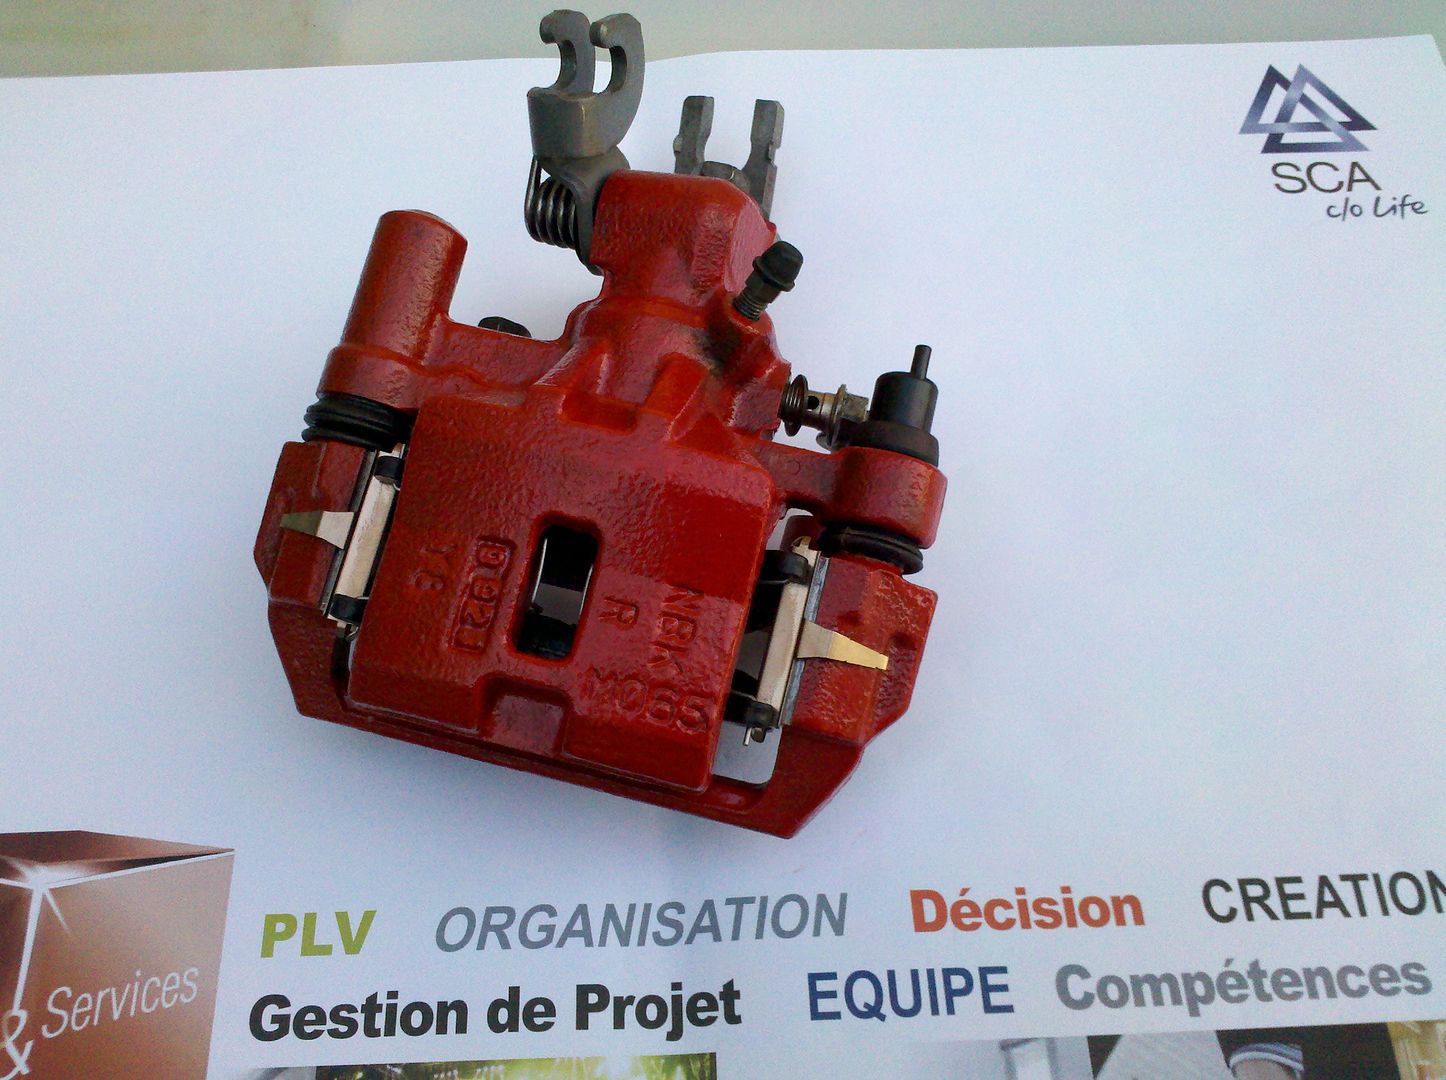
If you want to paint your caliper this is the right time.
I know that buying a re-manufactured caliper on Rockauto is maybe a simple option, rebuilding a caliper is often cheaper but more time consuming.
Plus it offers the ability to be painted in a professional way in any color of your choice.
The problem I encountered with my rear calipers is the famous sticky handbrake plus a strange brake fluid leak.
The tools you will need:
- a 14 mm wrench
- a 10 mm wrench
- a 8 mm wrench
- a 6 mm hex wrench
- a 4 mm hex wrench
- a long nose clip plier
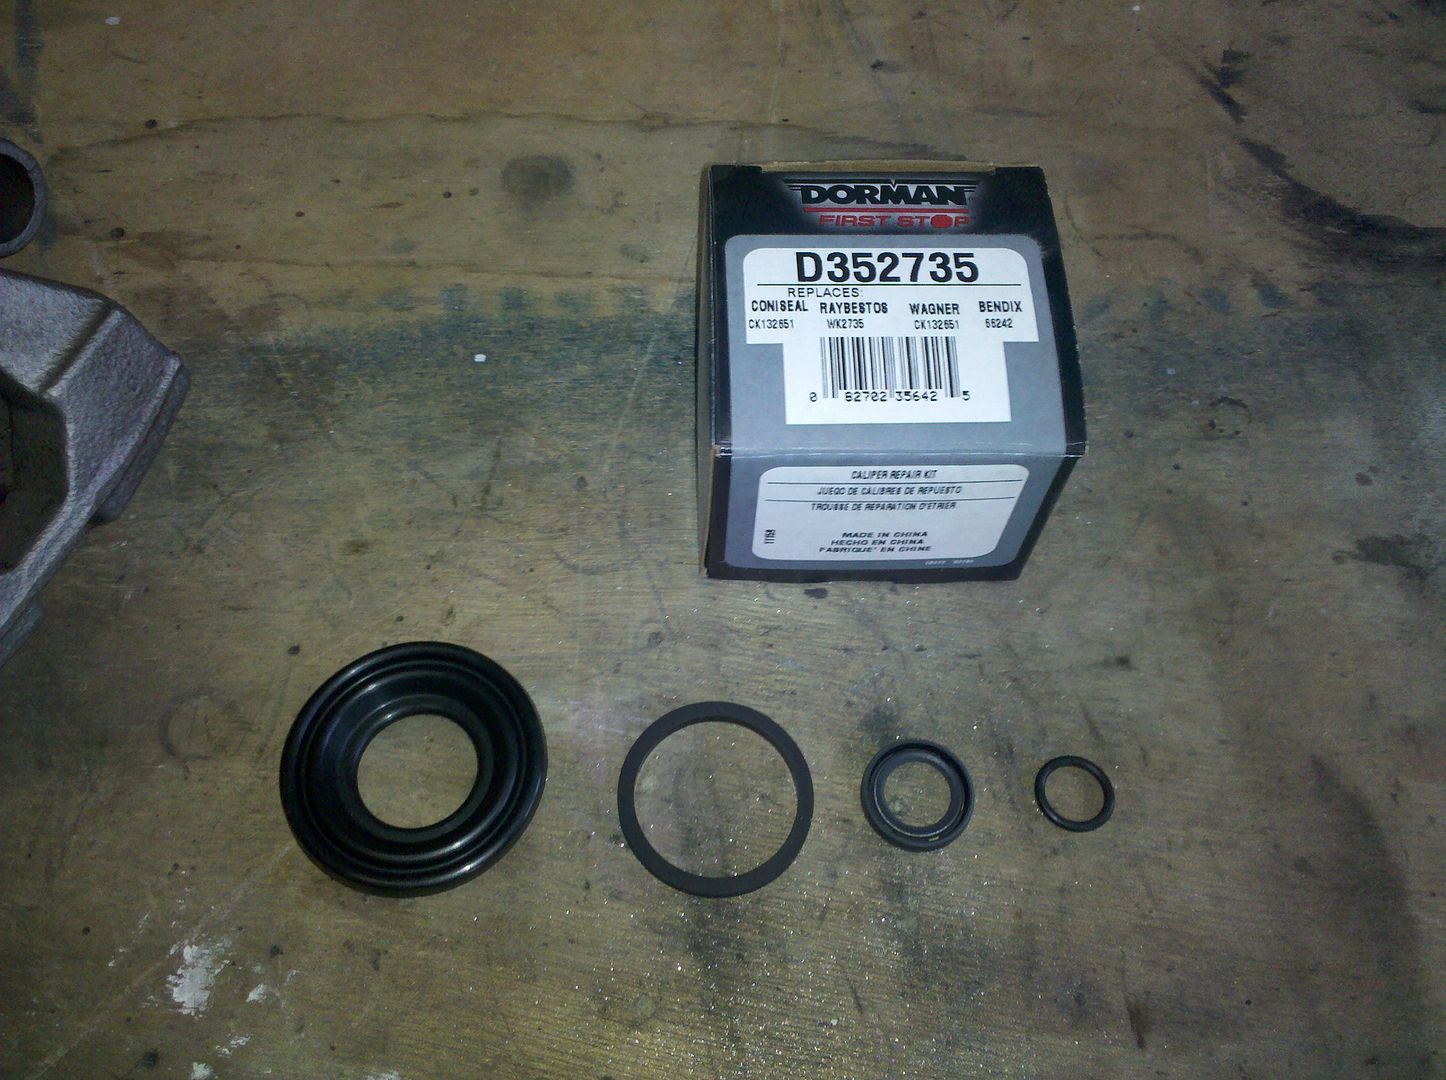
- a rebuild kit with the seal (eg. DORMAN D352735)
- some copper grease
- sand blaster
- high temp epoxy paint
First you have to have to remove the whole assembly from the car.
Here is the rusty/dirty/leaky caliper:
Remove the first slider pin with a 10 mm spanner:
Rotate the bracket and slide from the second slider pin:
Next you have to heat a lot the bracket to get the second slider pin off. It is glued with some red Loctite:
When the glue is softened, use the 6 mm Allen wrench to remove the slider pin:
Remove now the various bolt and handbrake cable support:
Turn several turns the gear to extract the most you can the piston.
Then remove the handbrake adjust gear with a 4 mm Allen wrench:
Carefully remove the handbrake lever spring:
Slide off the piston:
Remove the dust seals and rubber guides:
Now here is the tricky part. You have to remove the small clip inside the cylinder bore:
You can now extract the handbrake adjustment mechanism:
Now the hanbrake lever may be removed, just pull off:
You can see the culprit. The old dust seal leave water pass inside the caliper:
Remove with a flat screwdriver the seal and the inner seal inside the piston bore:
Now the magical part
If you want to paint your caliper this is the right time.


Comment