 Tweet
Tweet
We're getting close here folks!
I'm really regretting not keeping the crossed off items on my to do list in Evernote. I have spent so much time working on this that it all starts to just blend together!
As is often the case, much of the recent work has been clean up, organization, routing, running of new circuits and relays, figuring out issues, researching etc. So much work, so little to "show" for it.
Spent a good amount of time on the alarm. The model I bought has a couple features that I was particularly interested in and that I finally got all up and running. Specifically, an arm/disarm proximity sensor and a start button tied in to the system. When I ordered it I actually thought the functionality was a little different, but I've since gotten it to all work to my intended result.
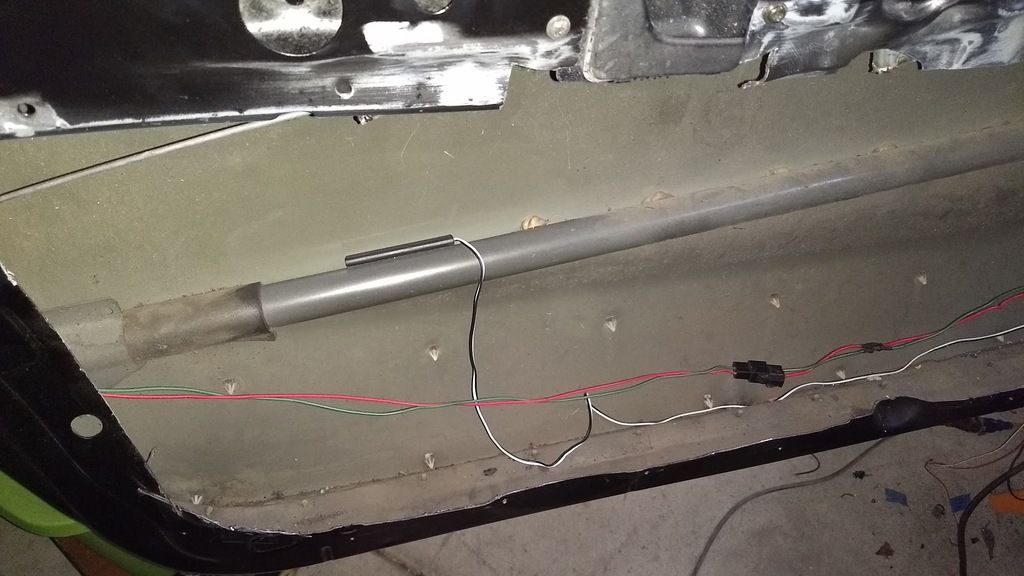
Took a couple days trying to get the wiring of the door locks tied together with the stock lock relay... mainly set back by the horrendous instructions/wiring diagram that I've noted before. Then I had to wrestle with running a proximity sensor for the automatic lock/unlock functionality, into the drivers door. Unfortunately this is a super boring picture, but without pictures, this doesn't belong in the picture post!
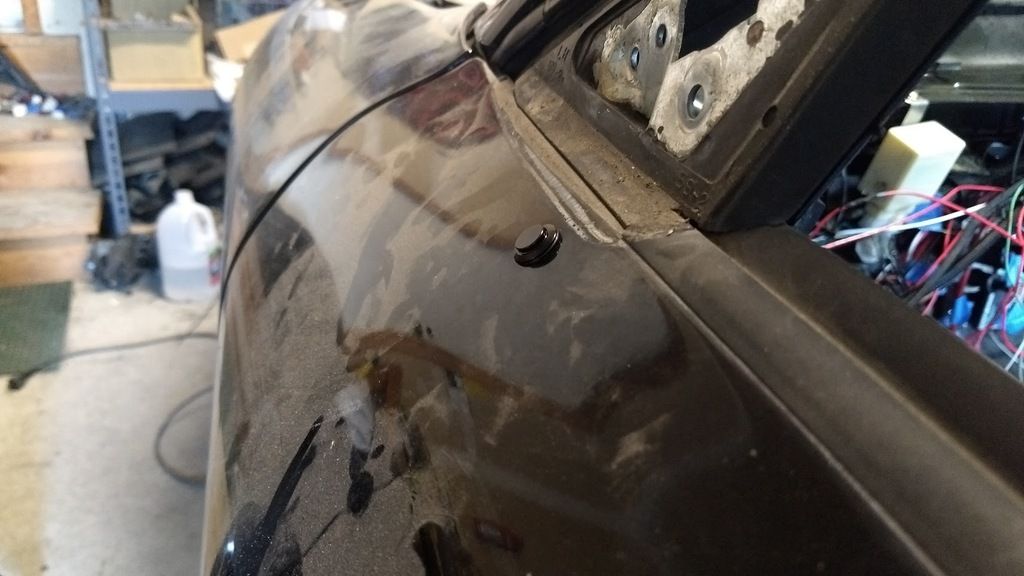
But I had an issue to get around...
Things were all well and good when the battery wasn't isolated, but with the isolator in the "off" position, how would I unlock the doors? The answer, a small hidden momentary button that, when pressed, flows power to the alarm long enough to unlock the doors.
With the door locks/relay all situated, I went ahead and wrapped that sucker up!
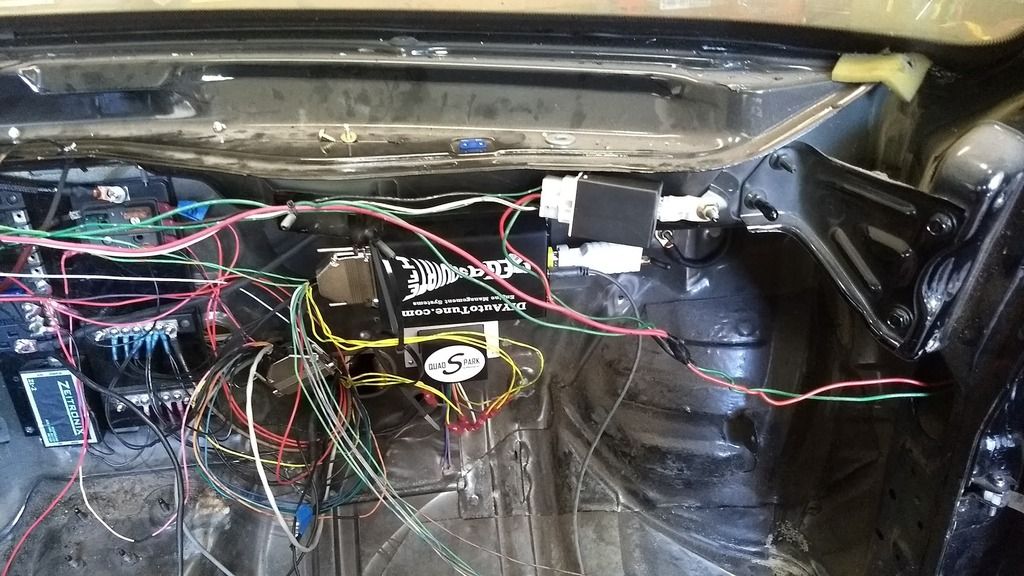
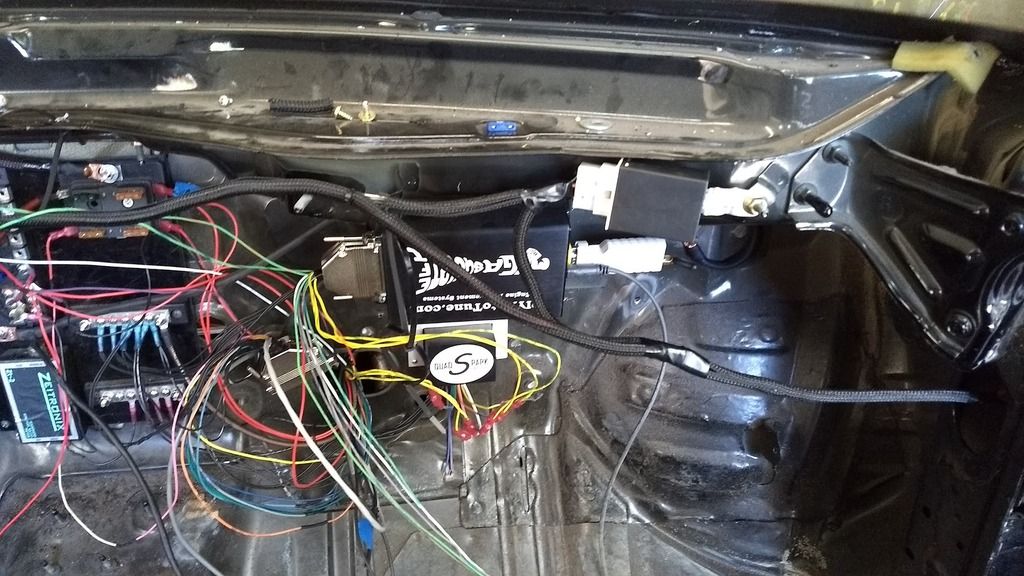
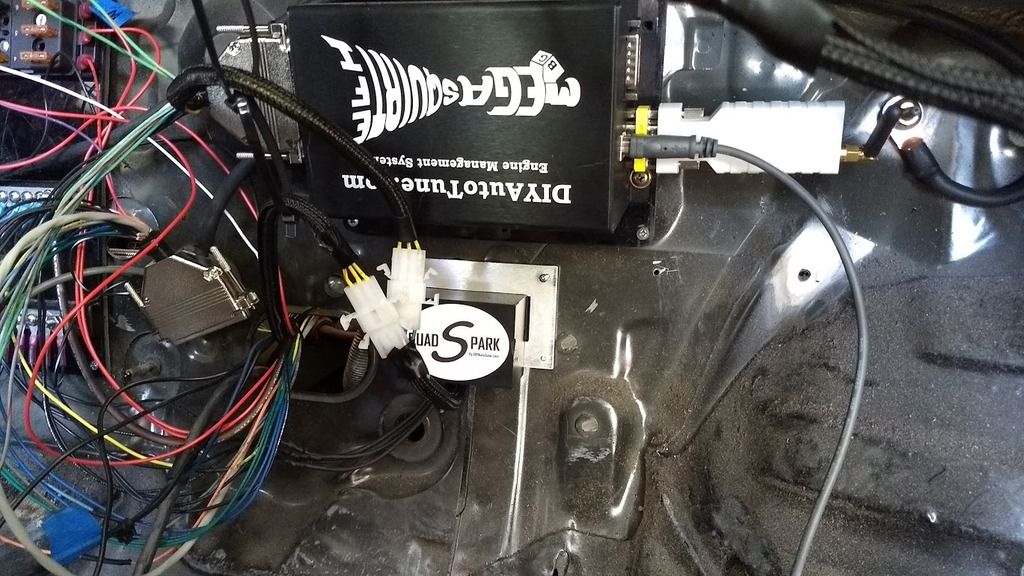
While I was in the mood, I cut to length, organized orientation/compatibility with Molex connectors, and wrapped the Quadspark input/output wiring (you can reference the picture above to see what it looked like before).
Then moved on to taking apart the DB37 MS3 and MS3X connectors and removed all the unused wiring, cut everything down to length in preparation to be wrapped, and organized/routed the MS based harness. I've got about another hour to get that situated, at which point I'm going to throw the dash back in temporarily to actually drive the car and make sure all the gauges and relays are working correctly.
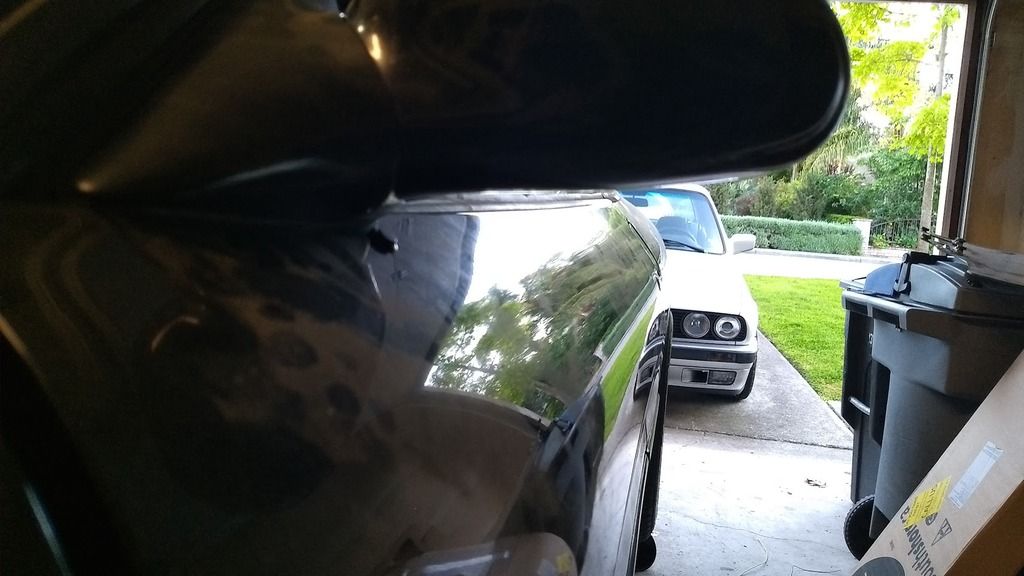
Also put the drivers door panel on

and tied down the wiring in the rear of the car, which has no picture because all there really is, is wiring that's no longer hanging and sloppy!
I'm really regretting not keeping the crossed off items on my to do list in Evernote. I have spent so much time working on this that it all starts to just blend together!
As is often the case, much of the recent work has been clean up, organization, routing, running of new circuits and relays, figuring out issues, researching etc. So much work, so little to "show" for it.
Spent a good amount of time on the alarm. The model I bought has a couple features that I was particularly interested in and that I finally got all up and running. Specifically, an arm/disarm proximity sensor and a start button tied in to the system. When I ordered it I actually thought the functionality was a little different, but I've since gotten it to all work to my intended result.
Took a couple days trying to get the wiring of the door locks tied together with the stock lock relay... mainly set back by the horrendous instructions/wiring diagram that I've noted before. Then I had to wrestle with running a proximity sensor for the automatic lock/unlock functionality, into the drivers door. Unfortunately this is a super boring picture, but without pictures, this doesn't belong in the picture post!

But I had an issue to get around...
Things were all well and good when the battery wasn't isolated, but with the isolator in the "off" position, how would I unlock the doors? The answer, a small hidden momentary button that, when pressed, flows power to the alarm long enough to unlock the doors.


With the door locks/relay all situated, I went ahead and wrapped that sucker up!


While I was in the mood, I cut to length, organized orientation/compatibility with Molex connectors, and wrapped the Quadspark input/output wiring (you can reference the picture above to see what it looked like before).

Then moved on to taking apart the DB37 MS3 and MS3X connectors and removed all the unused wiring, cut everything down to length in preparation to be wrapped, and organized/routed the MS based harness. I've got about another hour to get that situated, at which point I'm going to throw the dash back in temporarily to actually drive the car and make sure all the gauges and relays are working correctly.
Also put the drivers door panel on

and tied down the wiring in the rear of the car, which has no picture because all there really is, is wiring that's no longer hanging and sloppy!


Comment